Follow the below steps to integrate your WooCommerce store with Shipyaari Blaze
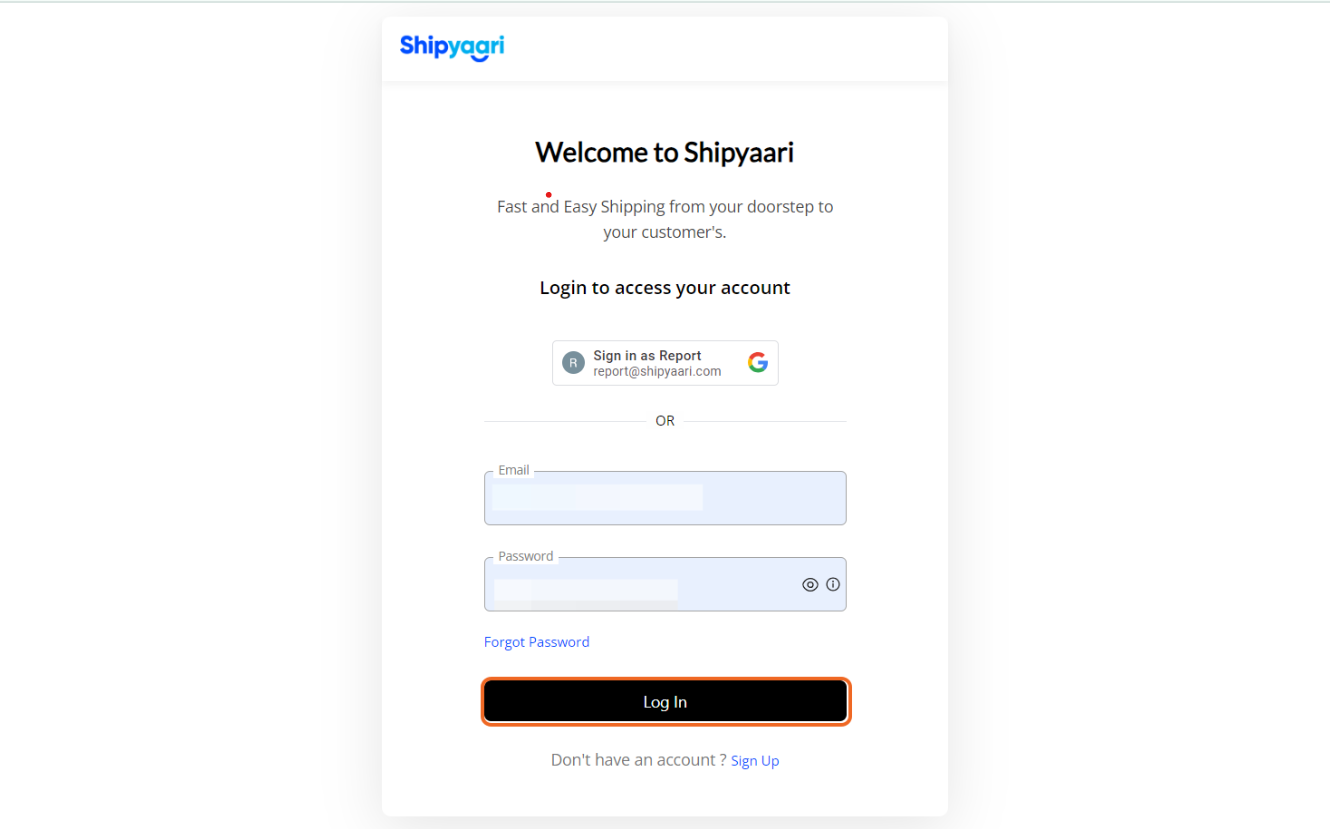
STEP 1: Login to your Blaze Account
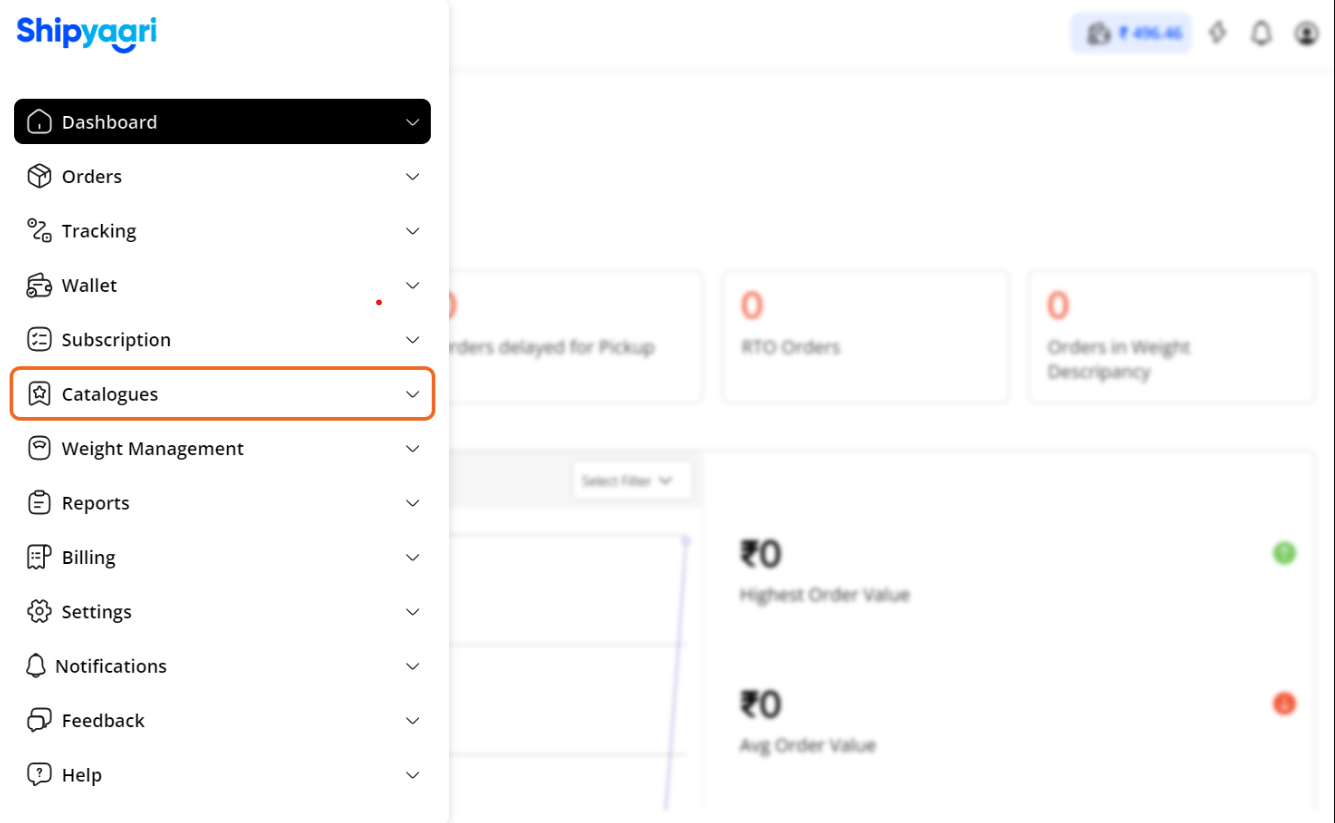
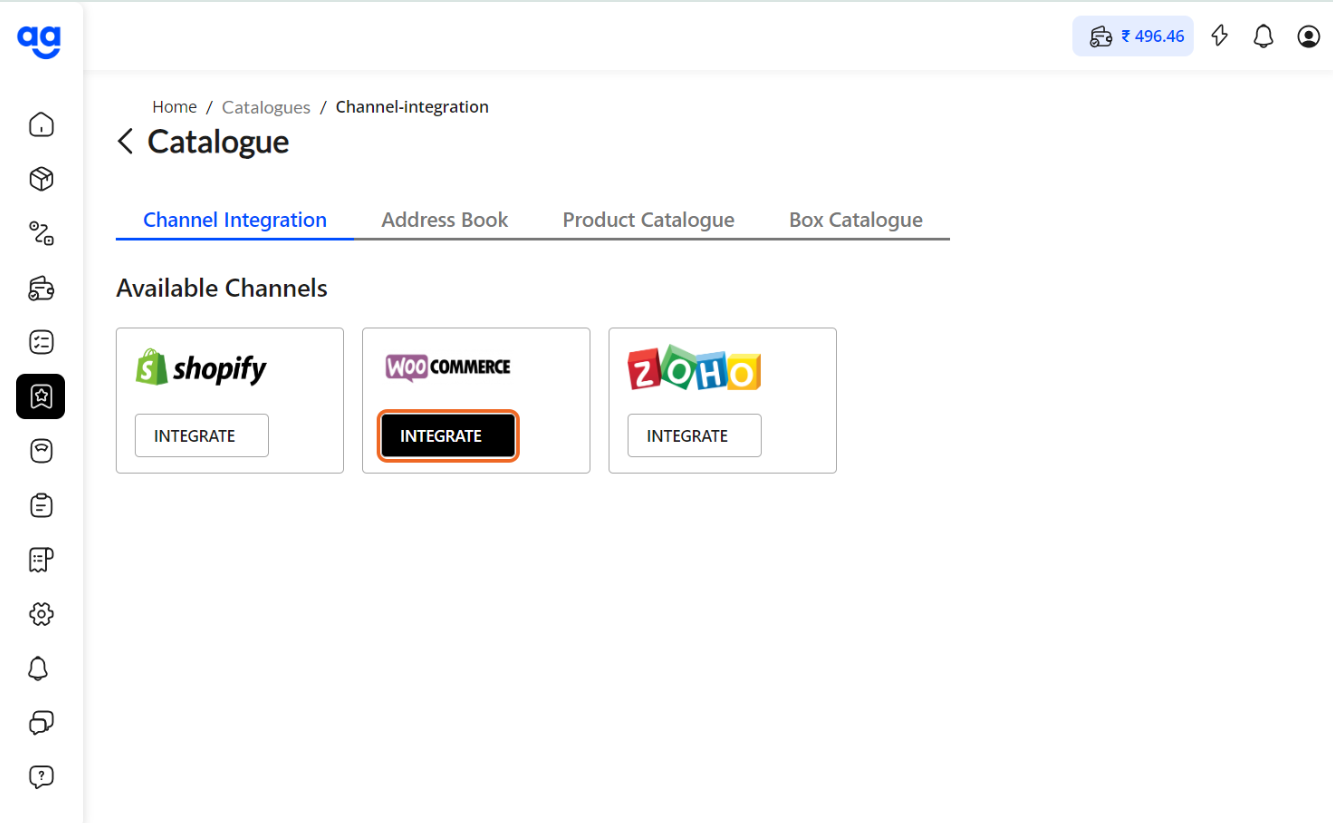
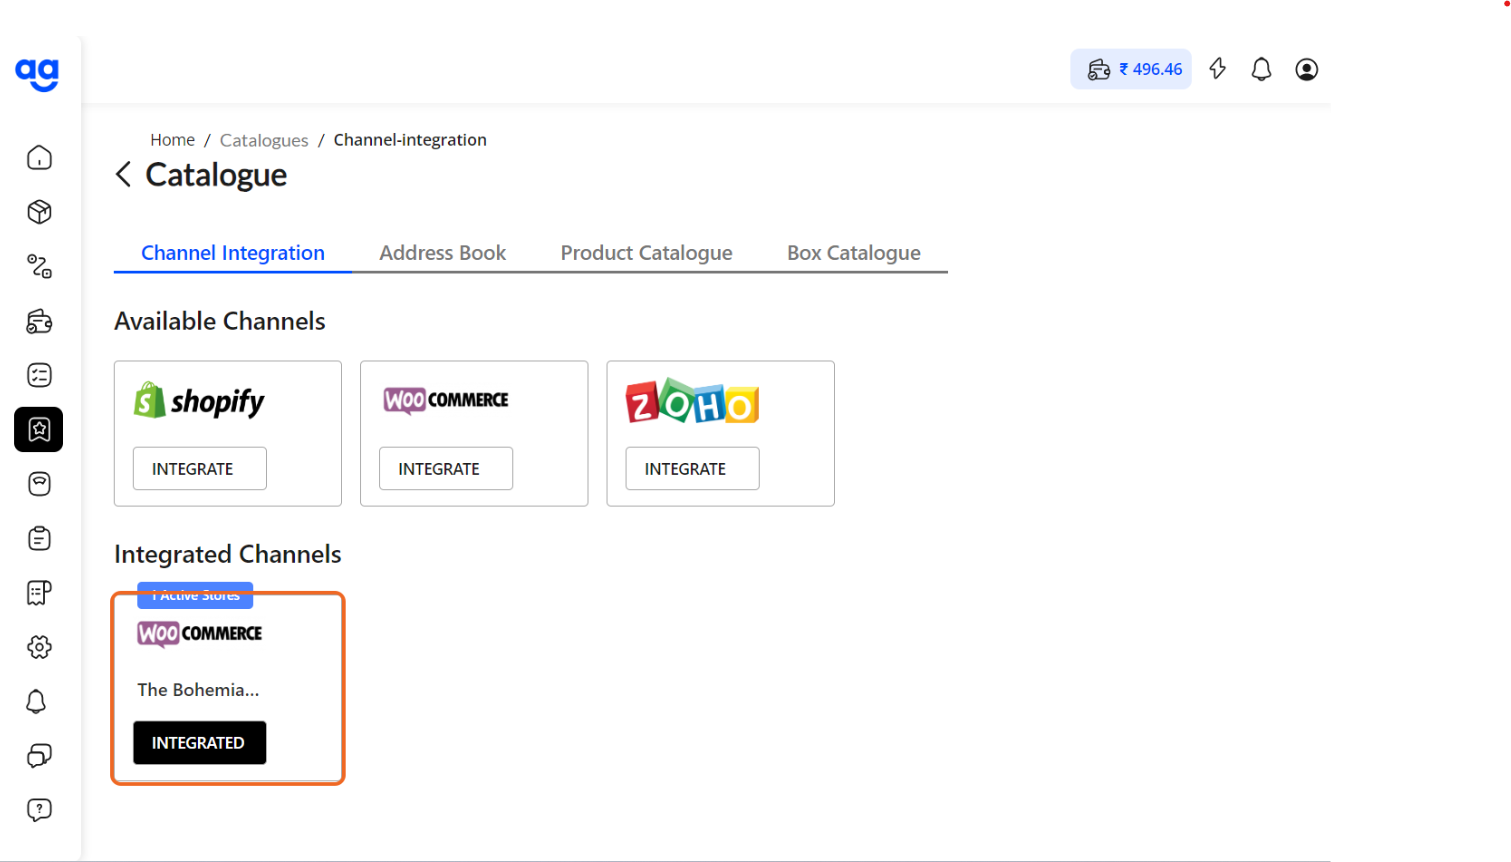
STEP 2: To integrate your WooCommerce store, go to Catalogues from the side menu.
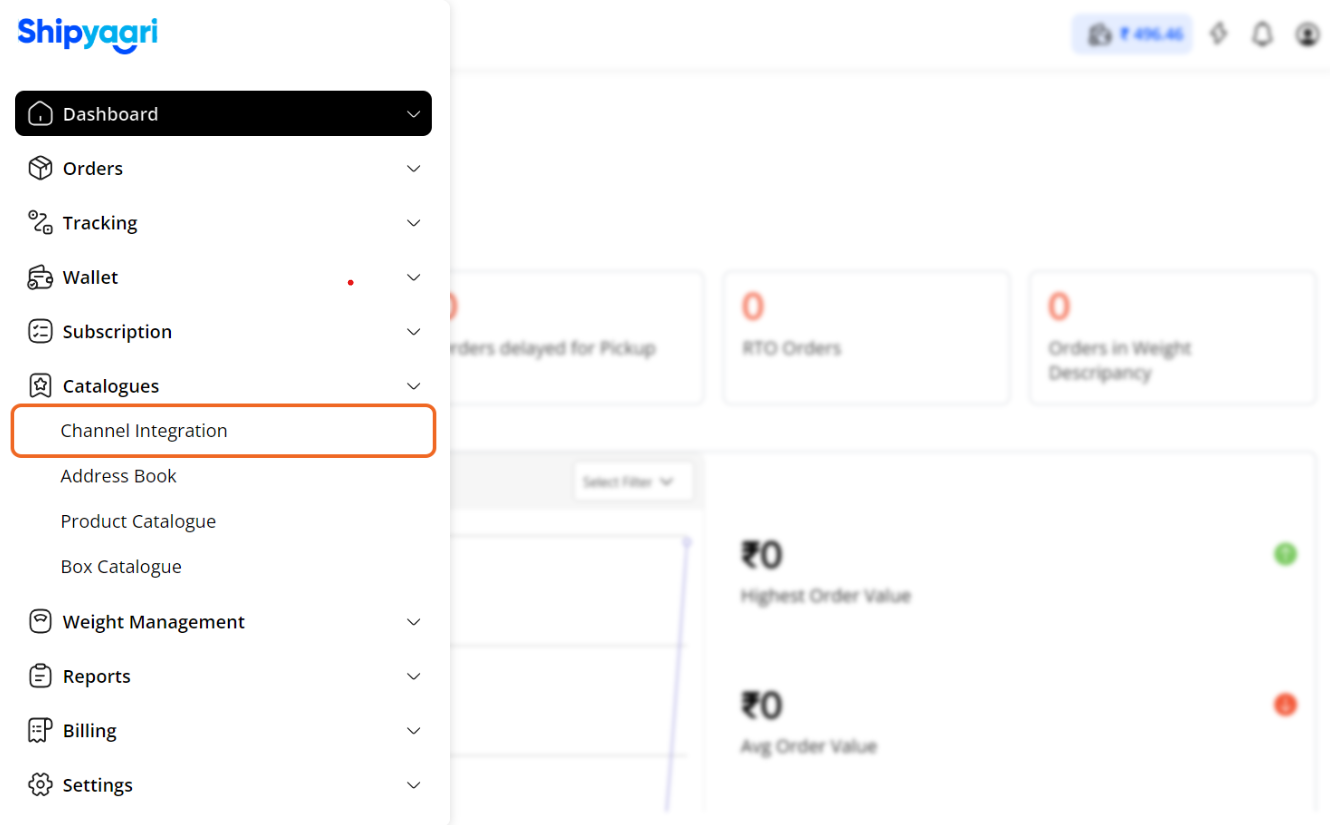
STEP 3: Under the Catalogues, click on Channel Integration
STEP 4: Click on INTEGRATE under the WooCommerce Card
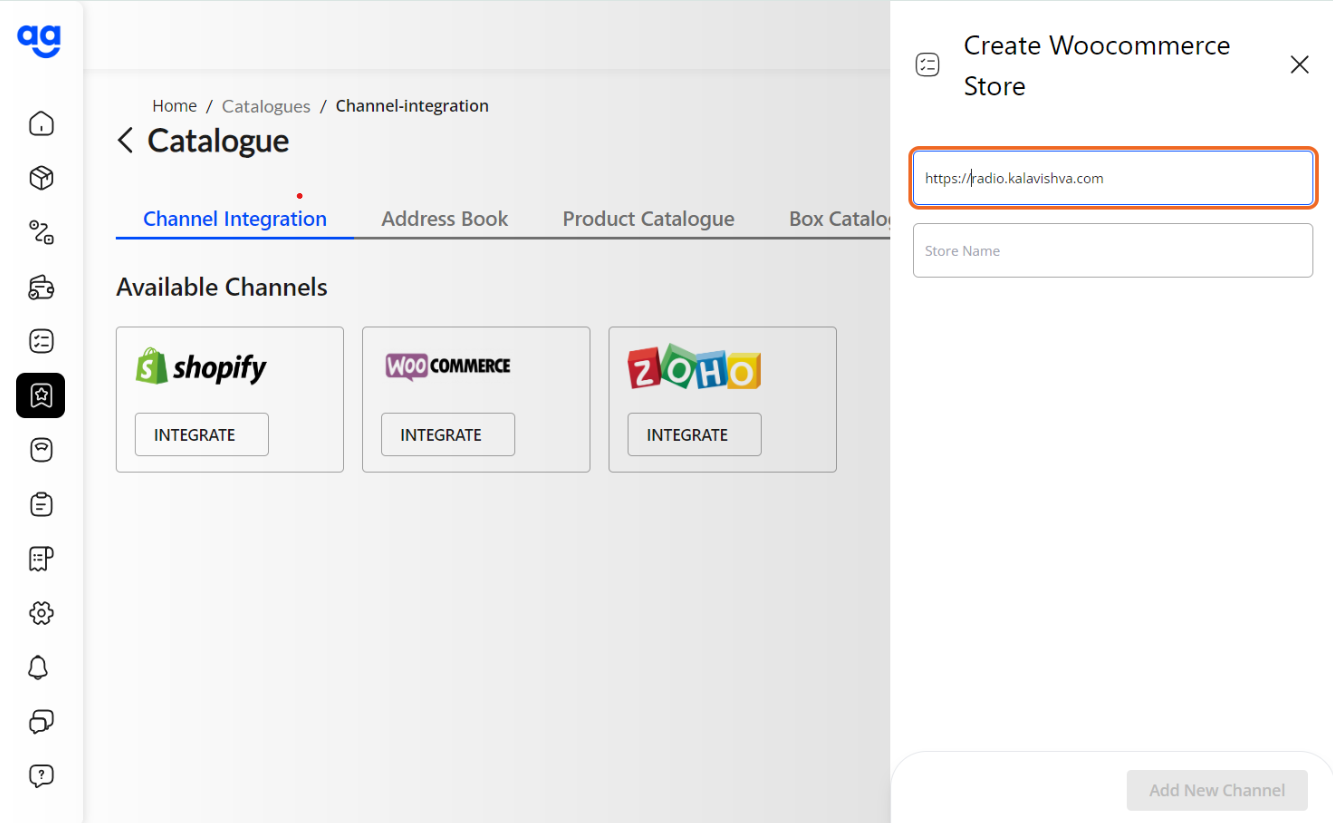
STEP 5: In the section that opens up in the Right Column, enter your store URL
Enter the main store URL (Example: https://www.mystore.com)
STEP 6: Type your Store Name in the second field for you to identify this particular store.
You can integrate multiple WooCommerce stores to a single Blaze account.
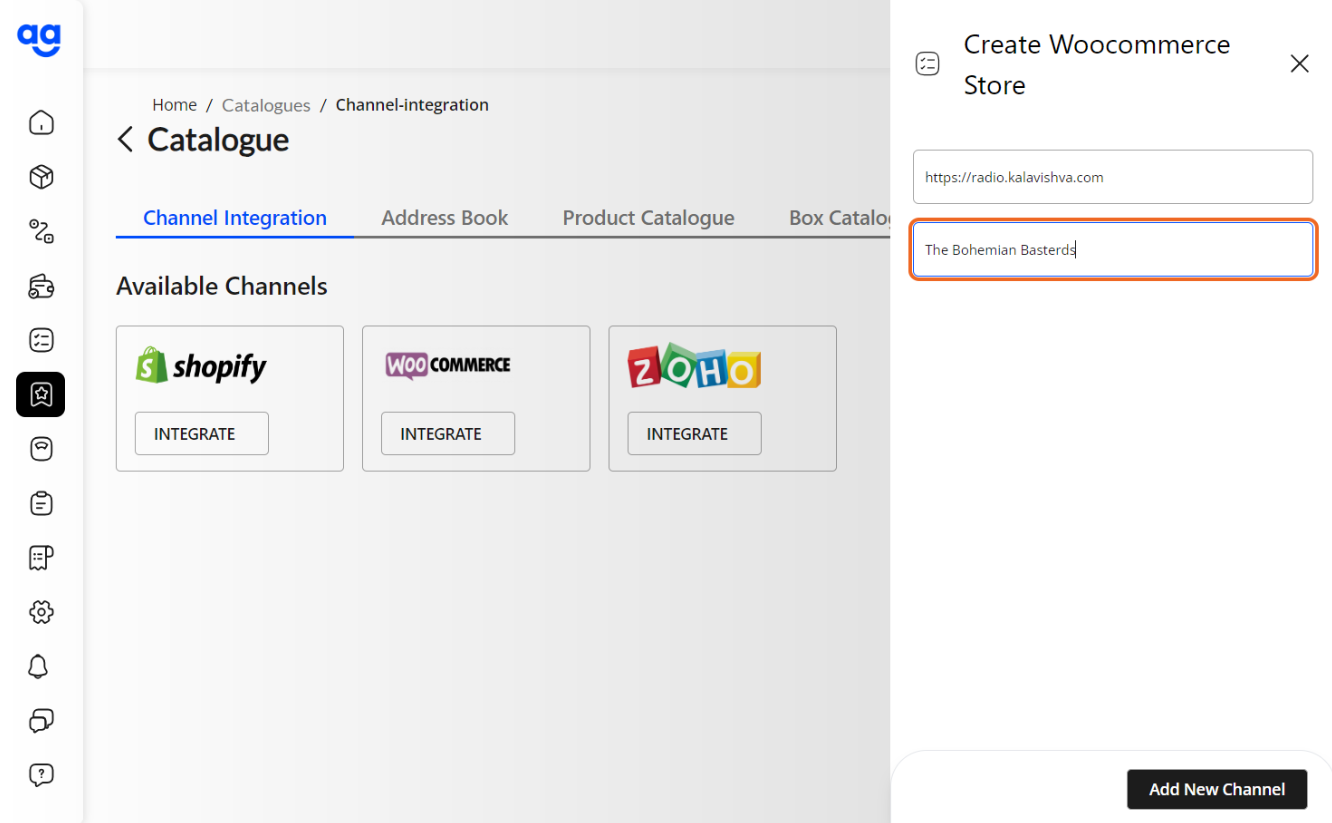
STEP 7: Click on Add New Channel
STEP 8
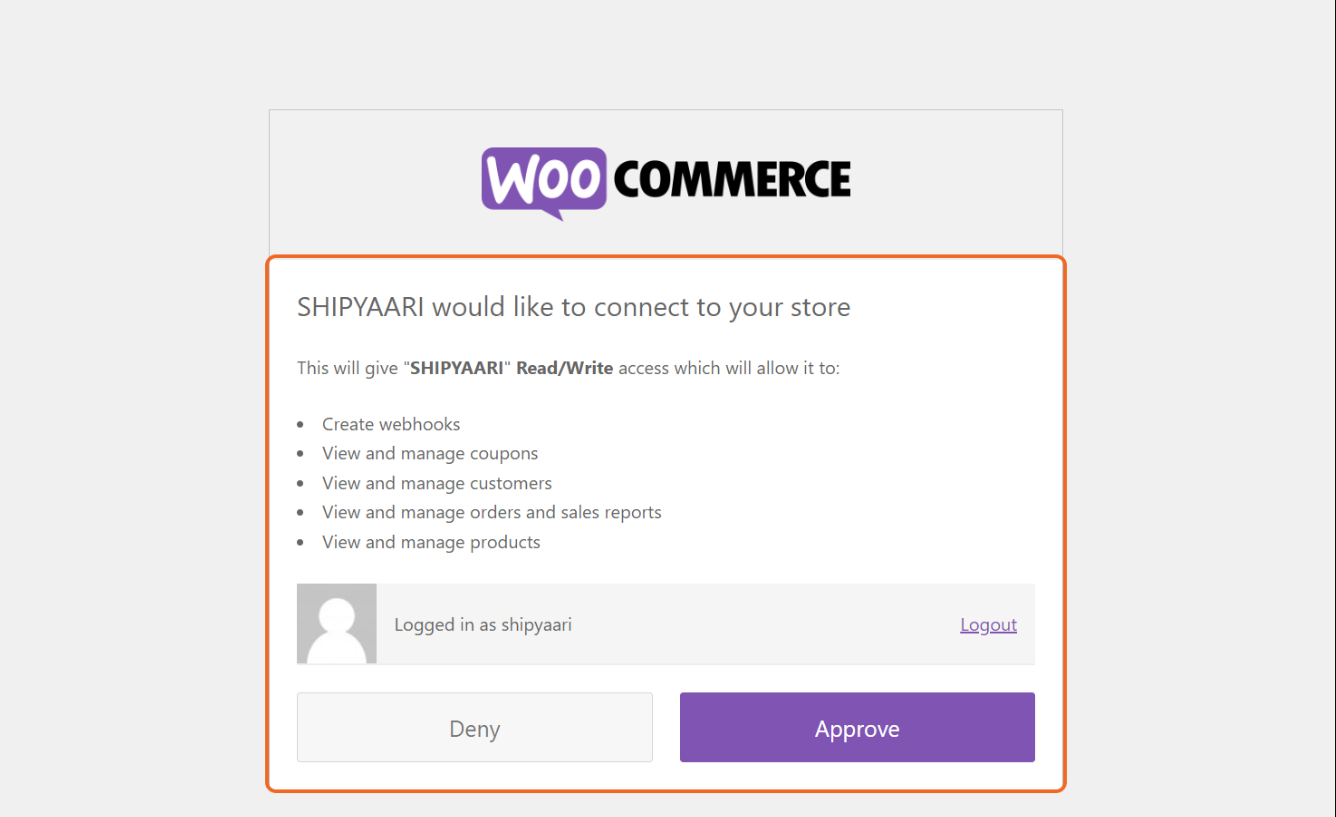
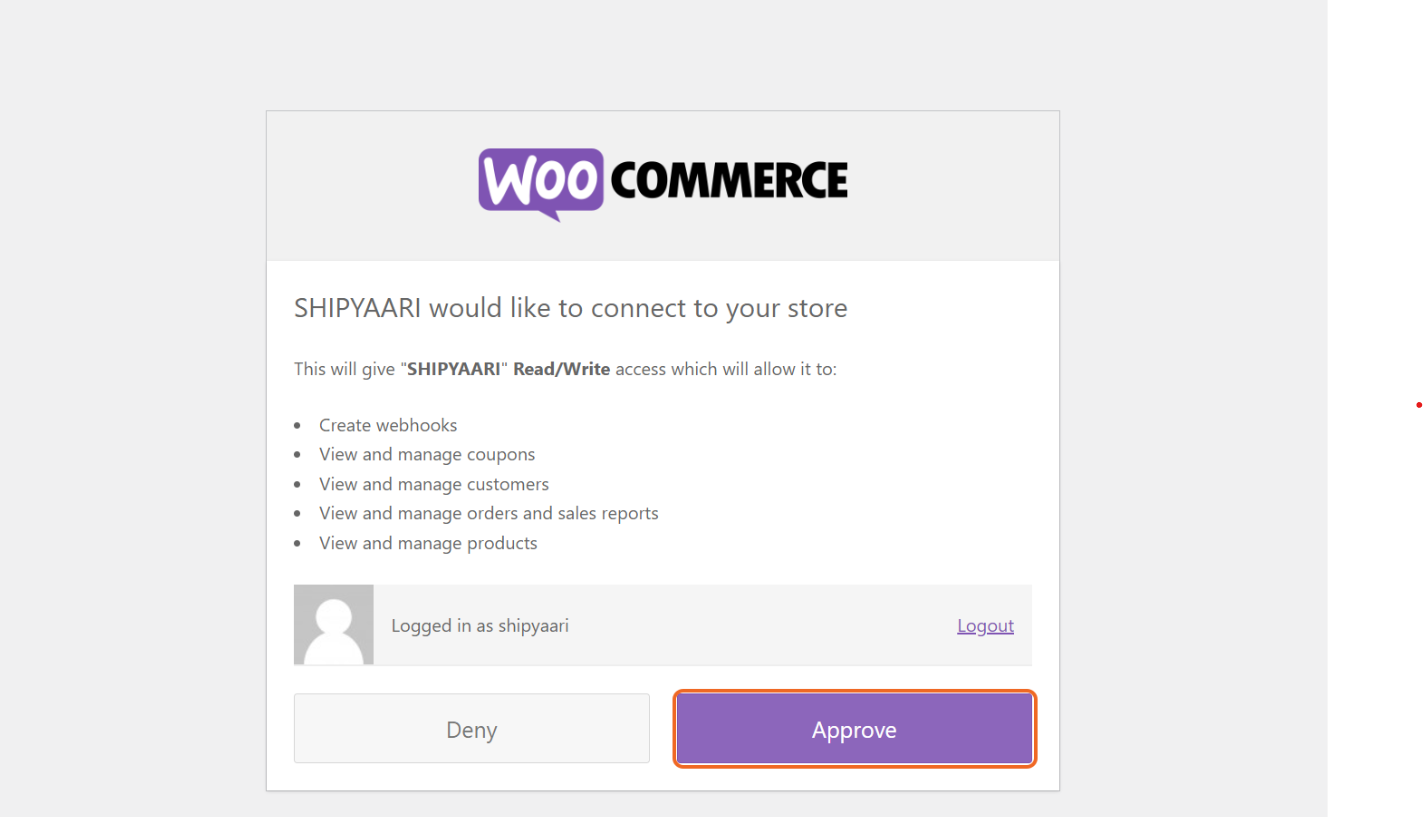
In case you're already logged in, you'll get this screen to review the permissions
required by Shipyaari for Processing your orders
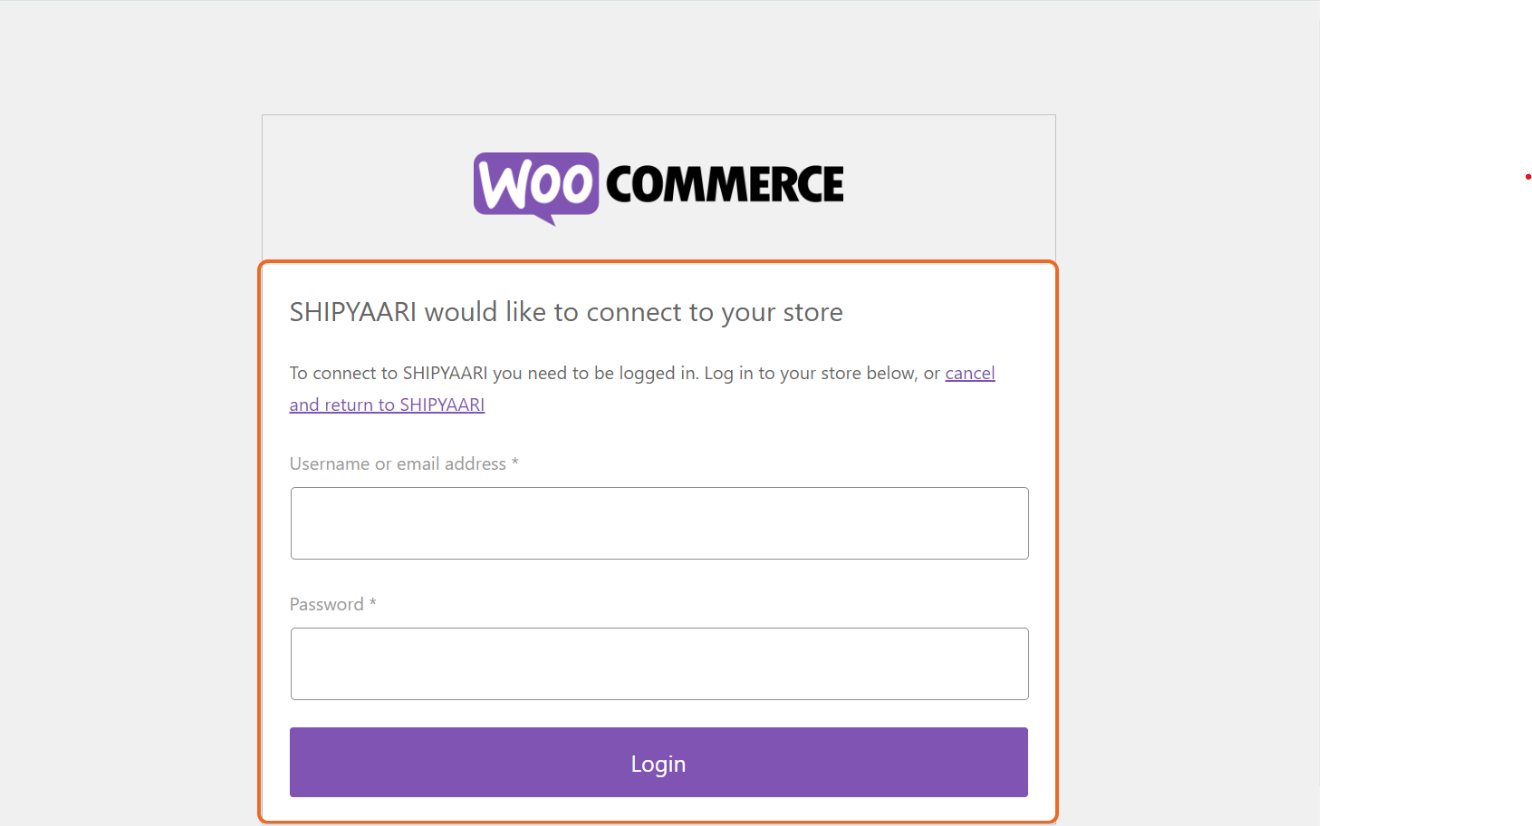
STEP 9: If you're not logged in, you will be redirected to this page. Please login with your WooCommerce Store Credentials
STEP 10: Click on Approve
STEP 11: Congratulations! Your WooCommerce store has been successfully integrated with your Shipyaari Account
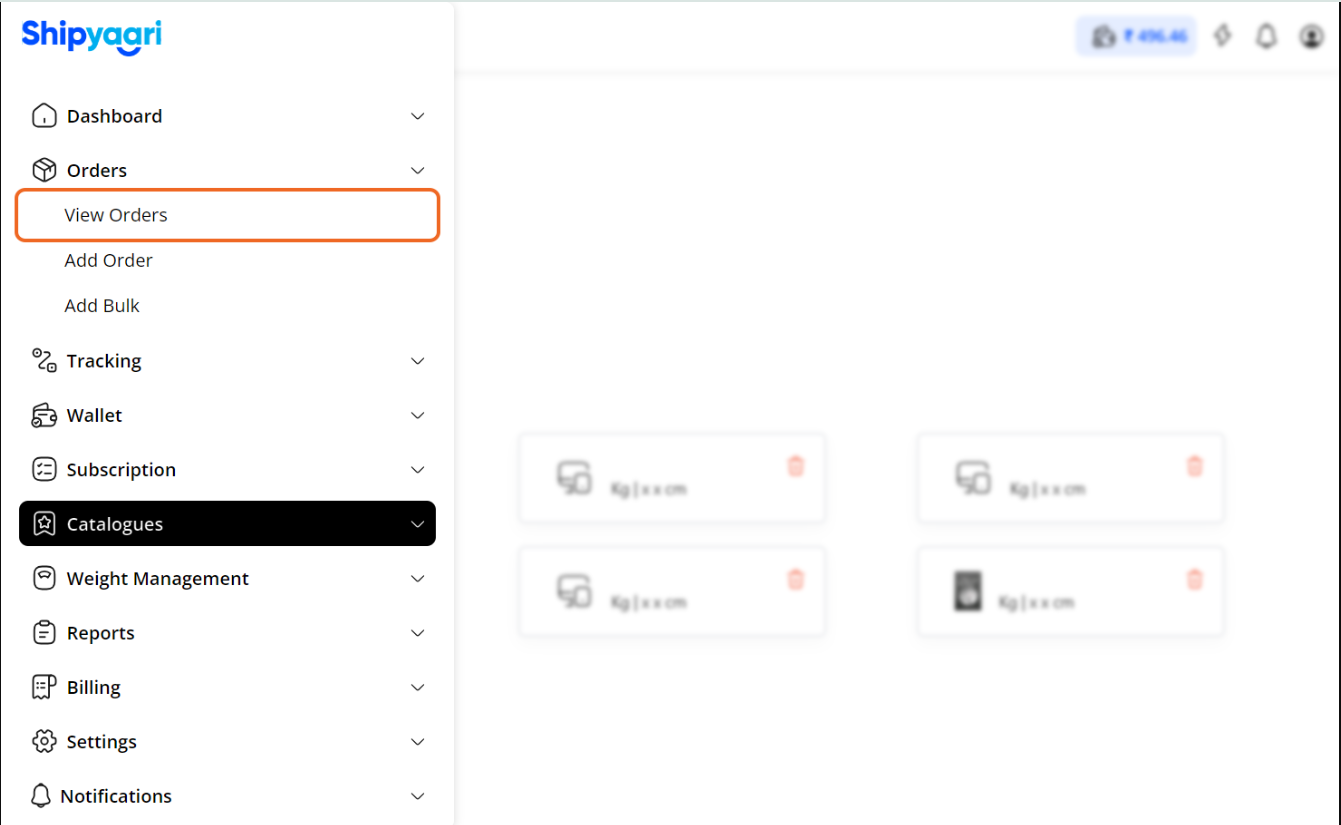
STEP 12: To View Orders received from the newly integrated WooCommerce store,
click on View Orders under Orders