
Amazon integration with Shipyaari
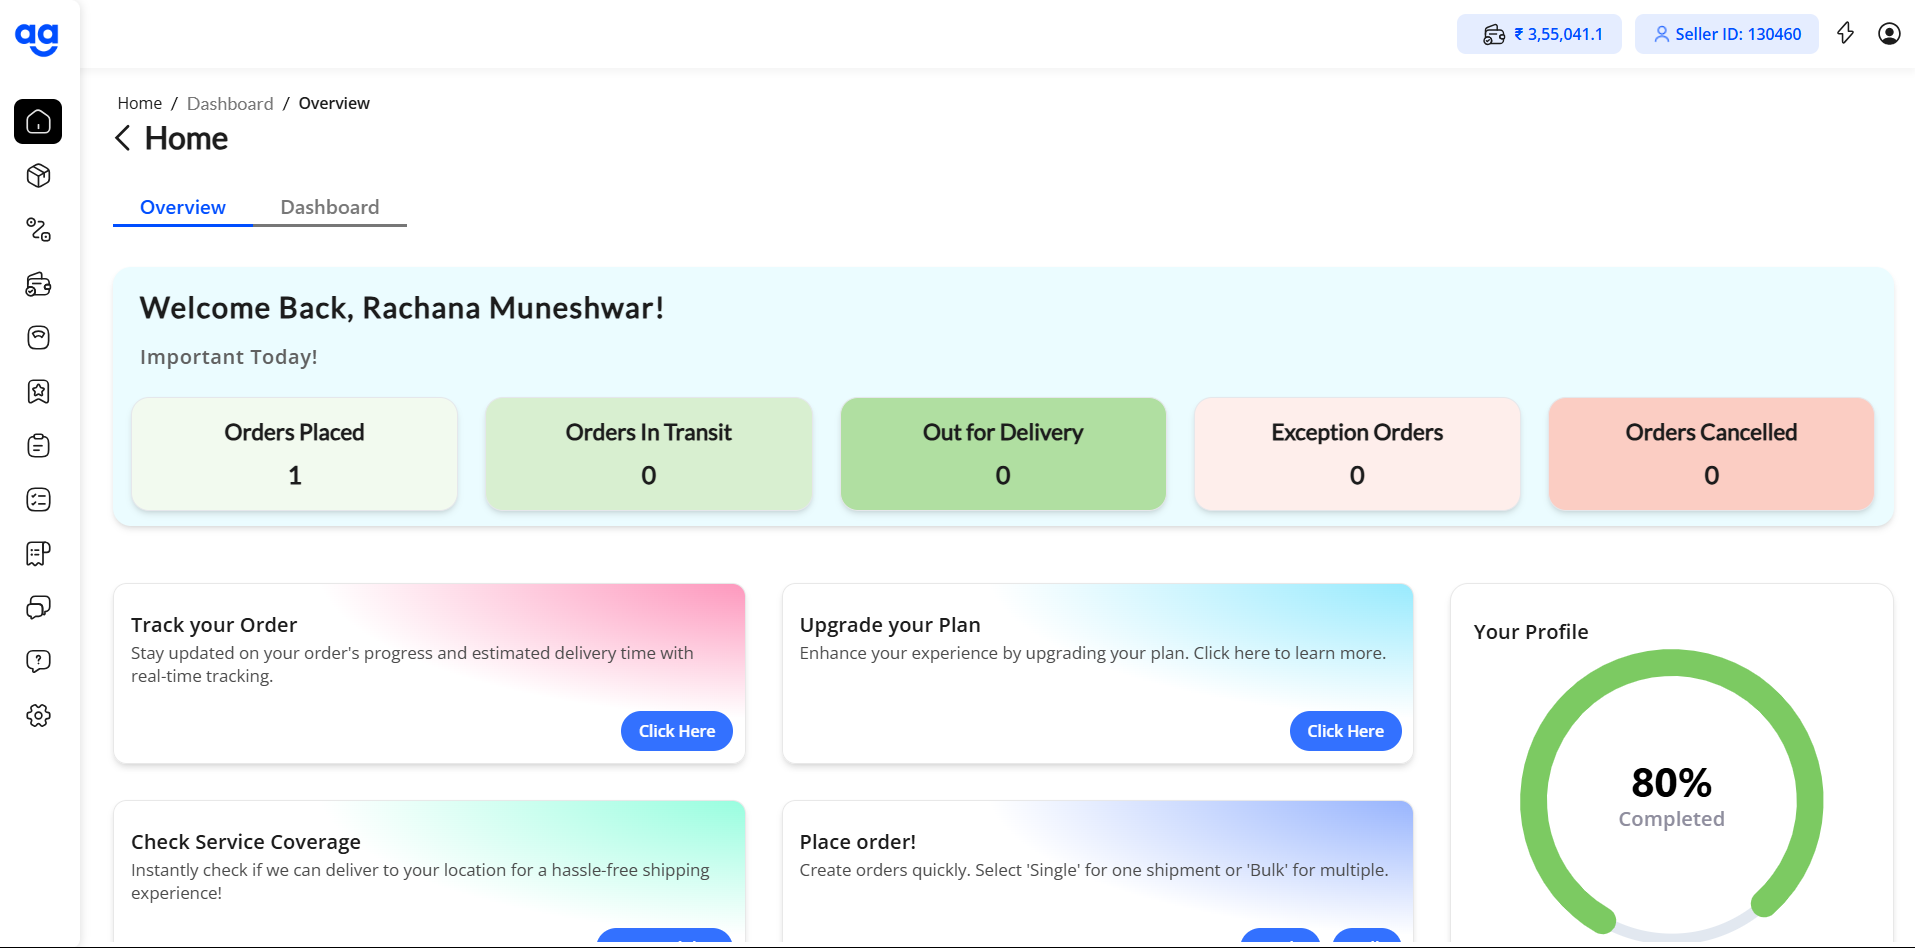
Step 1: Log in to Shipyaari Blaze Panel
-
Open your preferred web browser and visit the Shipyaari Blaze panel.
-
Enter your registered credentials (Username & Password) and click Login
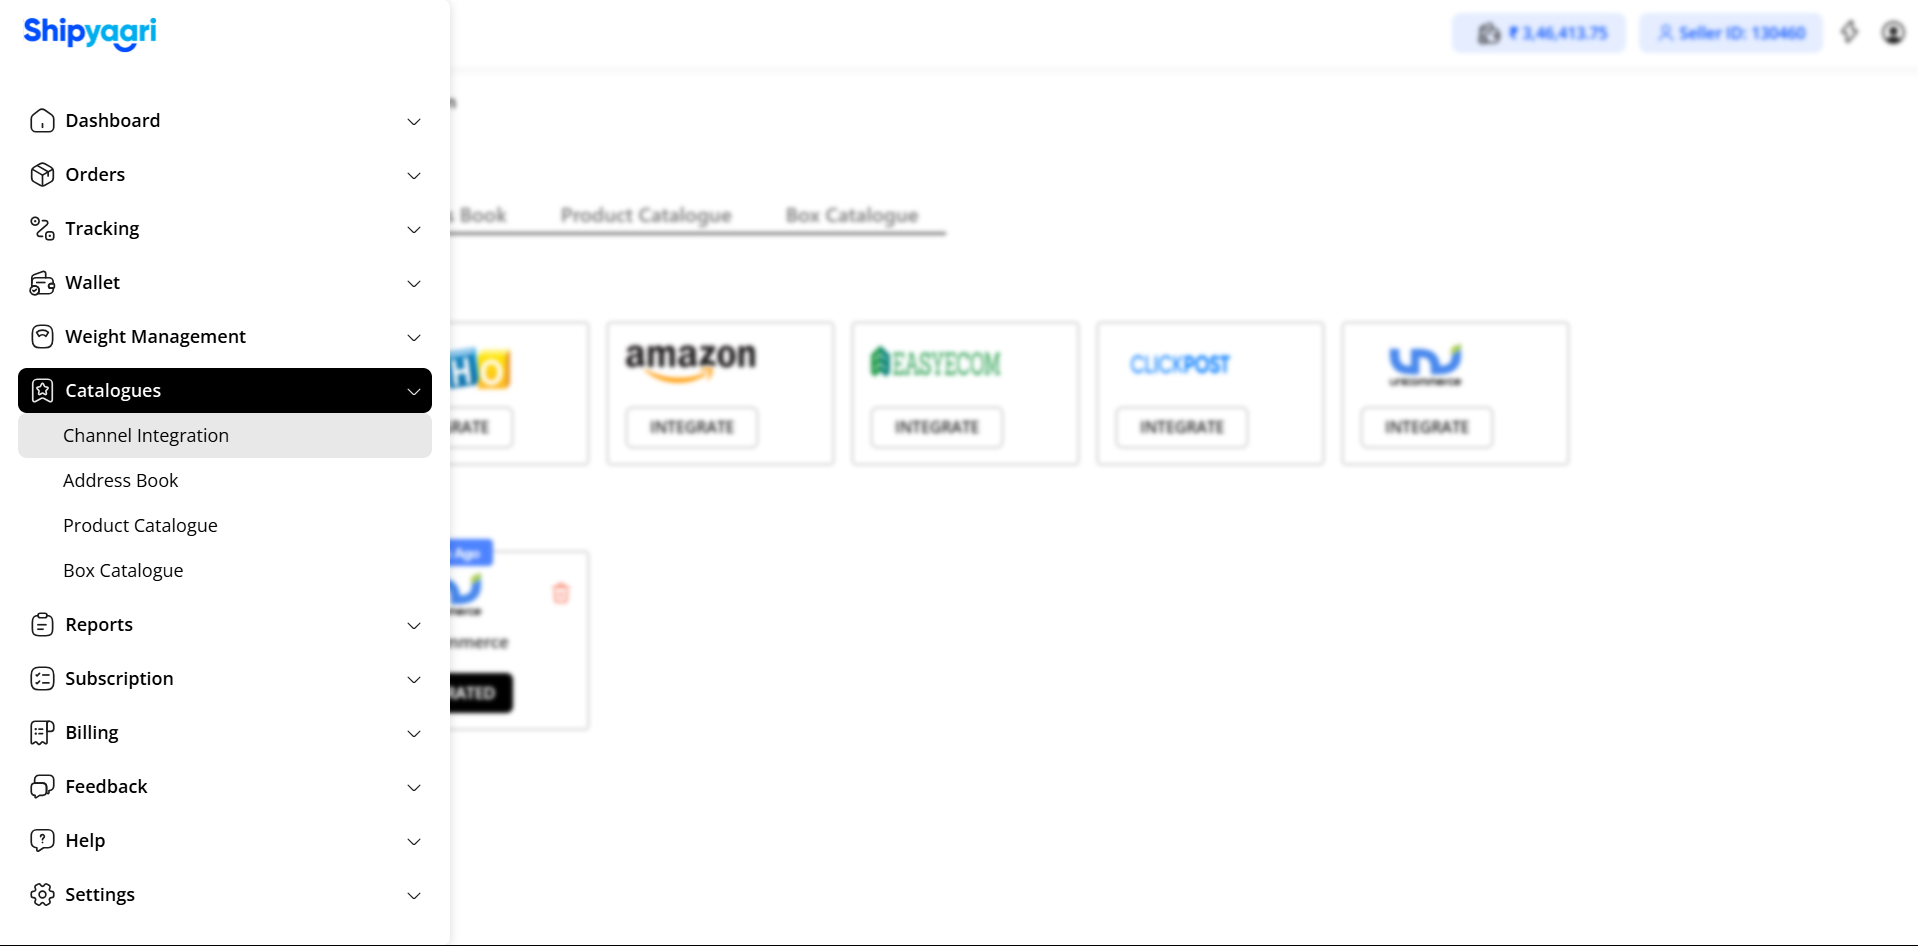
Step 2: Navigate to Home > Catalogues > Channel Integration
-
Once logged in, locate the Home tab on the left-hand side menu.
-
Click on Catalogues from the dropdown or expanded menu.
-
Under Catalogues, select Channel Integration.
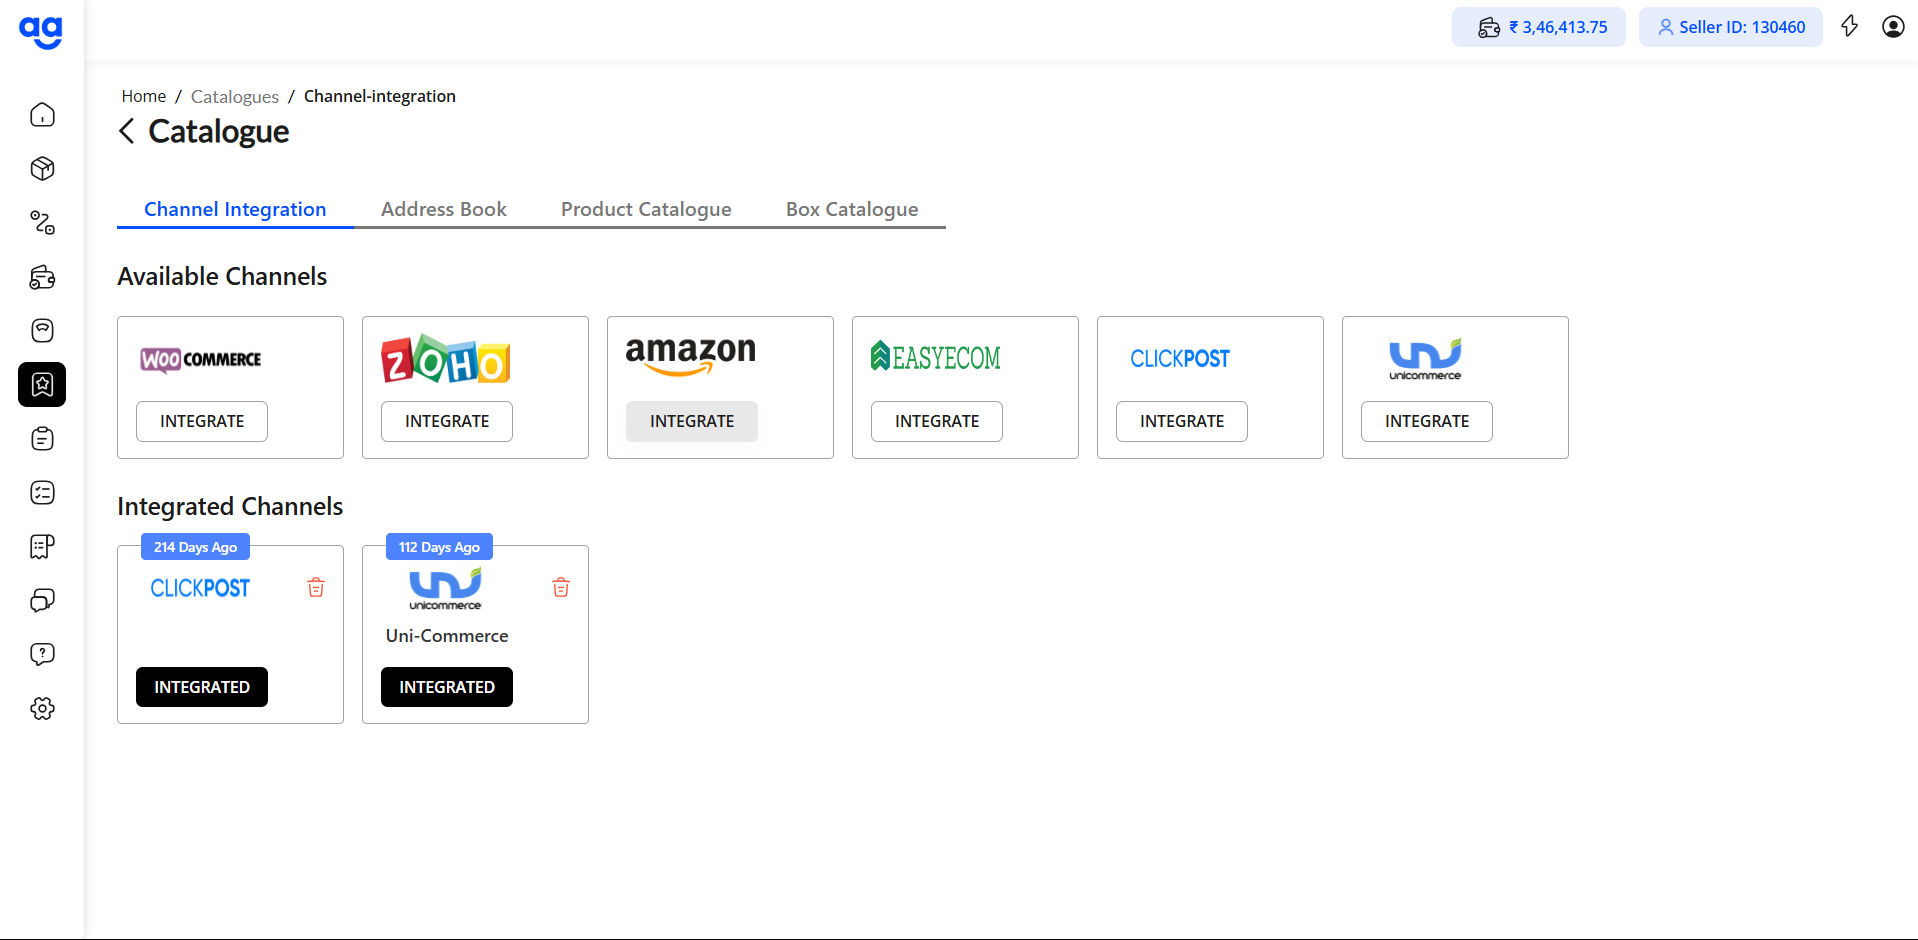
Step 3: Visit Amazon Icon and Click on Integrate Button
-
On the Channel Integration page, locate the Amazon icon.
-
Click on the Integrate button next to the Amazon icon.
Step 4: Redirect to Amazon Seller Central Login Page
-
After clicking the Integrate button, you will be redirected to the Amazon Seller Central login page.
-
Enter your Amazon Seller Central login credentials (email and password) to proceed.

Step 5: Authorize Shipyaari to Access Your Amazon Account
-
After logging in, you will see a checkbox with the text: “I direct Amazon to…”.
-
Check the box to authorize Shipyaari to access your Amazon account data.
-
Click on the Confirm button to complete the authorization process.

Step 6: Amazon Account Successfully Connected to Shipyaari
-
Once you click Confirm, your Amazon account will be successfully connected to Shipyaari.
-
You can come back to Shipyaari Catalogues to find Integrated tag under the Amazon icon, indicating Amazon has been integrated.