
Quick Order
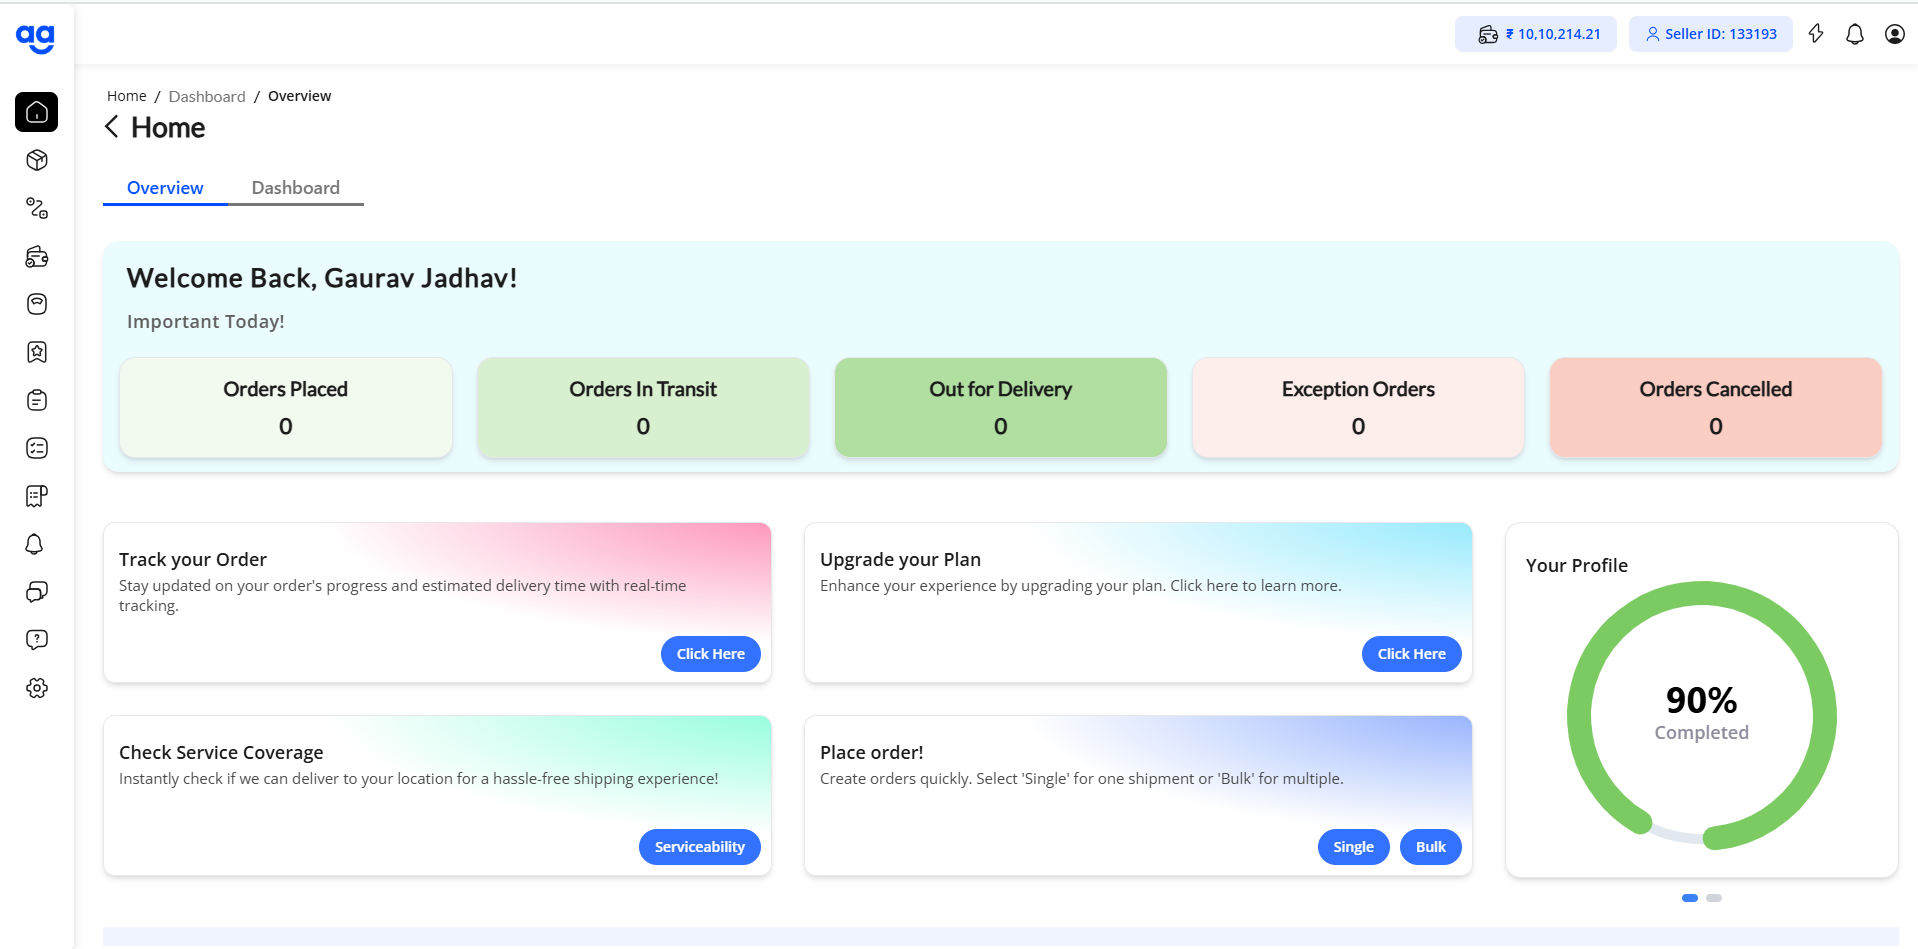
Step 1: Login
-
Navigate to the Shipyaari Blaze Panel.
-
Enter your credentials and log in.
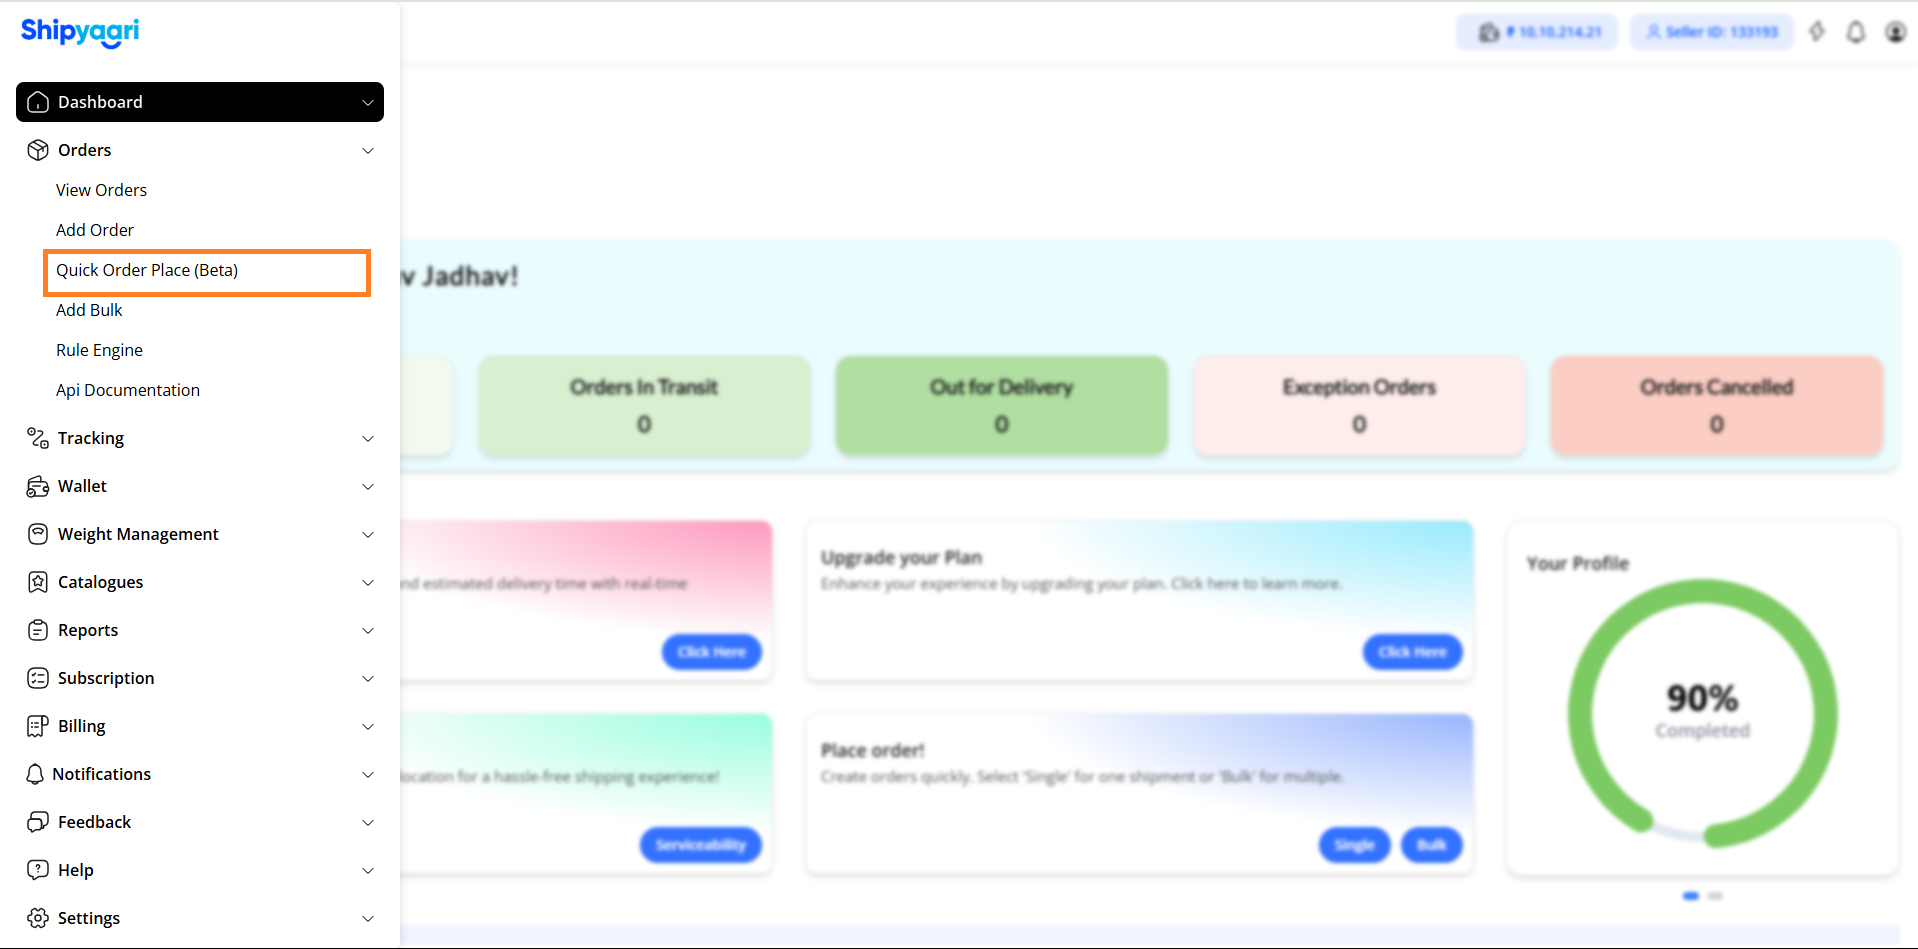
Step 2: Access Quick Order Placement (Beta)
- Go to Order Management > Quick Order Place (Beta).
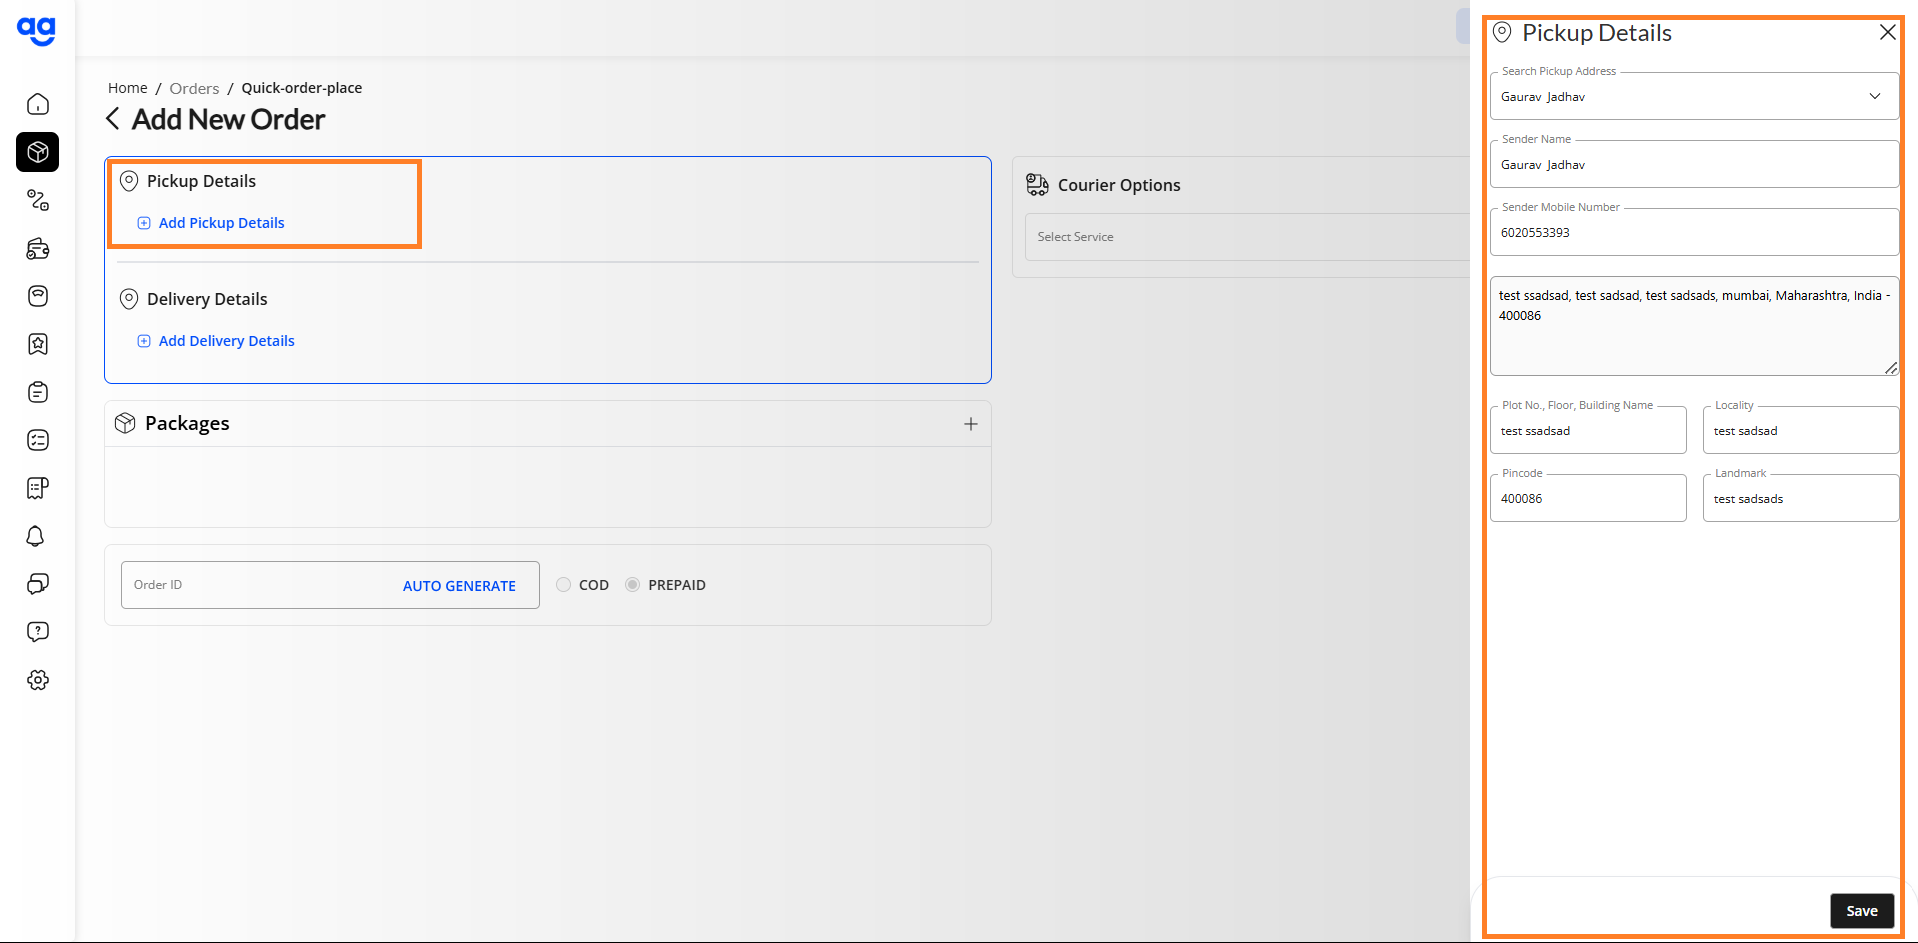
Step 3: Enter Pickup Details
-
Fill in the pickup details, including address and contact information.
-
(SS: Example of Pickup Details form filled in)
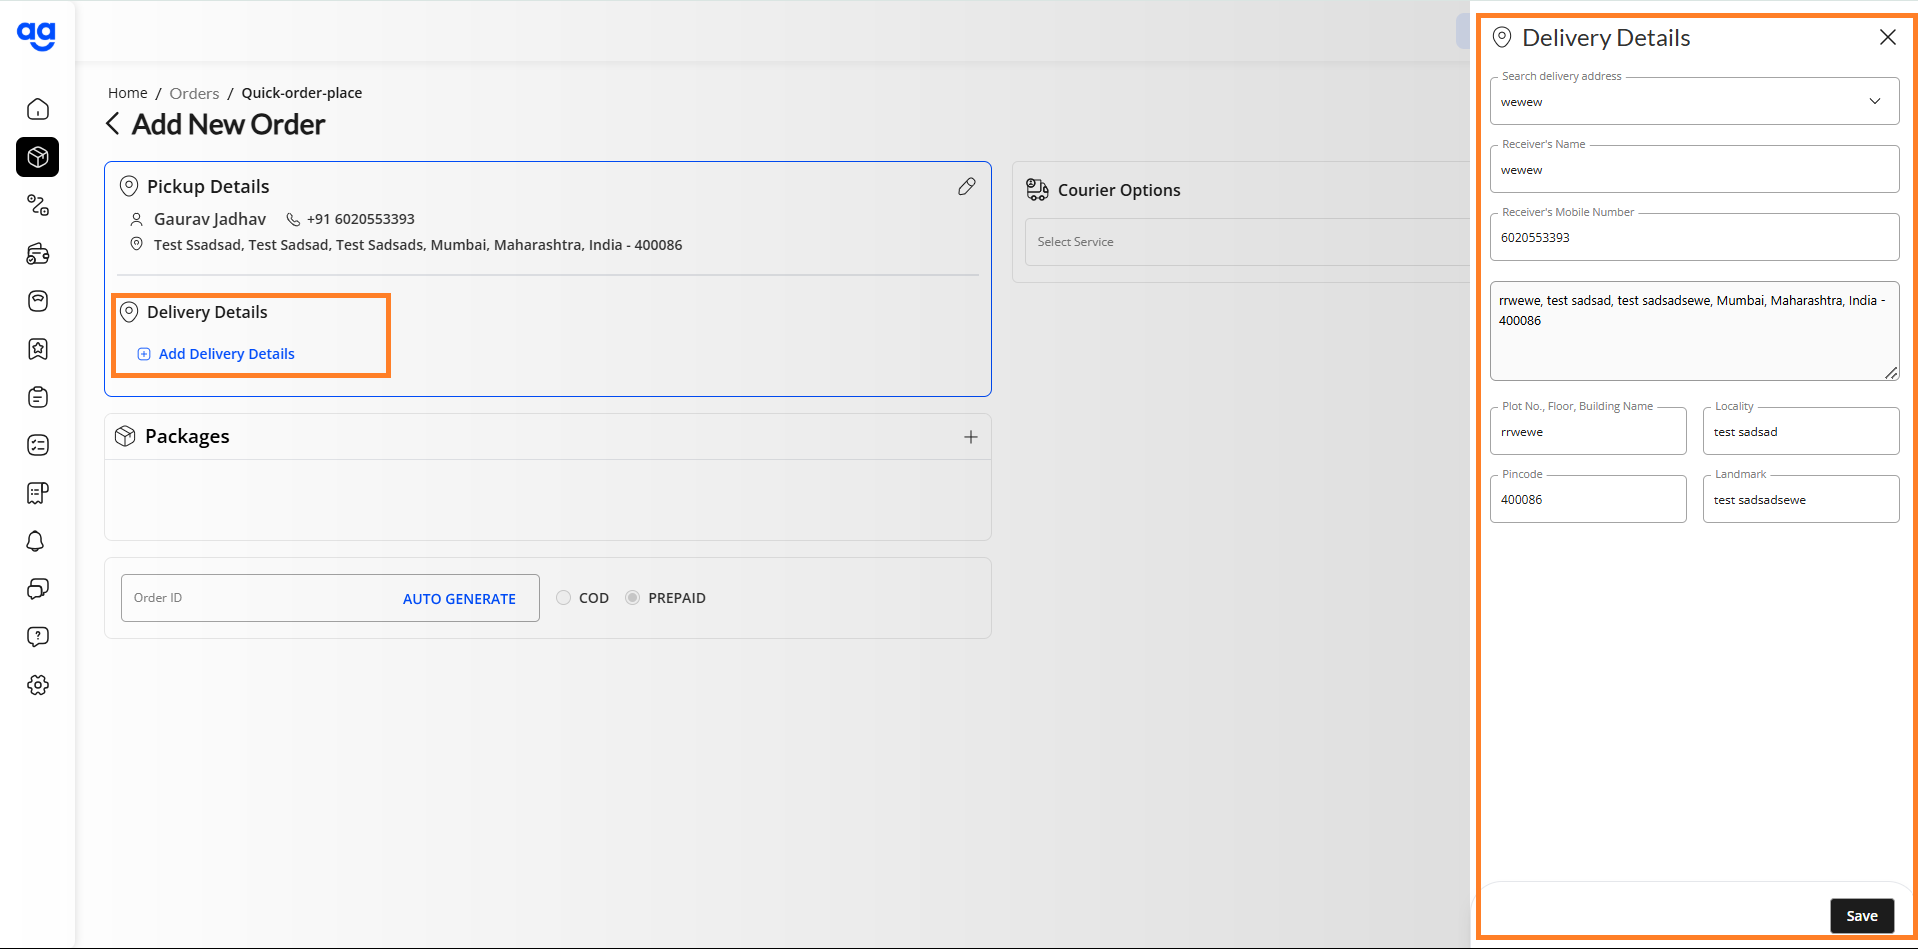
Step 4: Enter Delivery Details
-
Provide the recipient’s delivery address and contact details.
-
(SS: Example of Delivery Details section filled in)
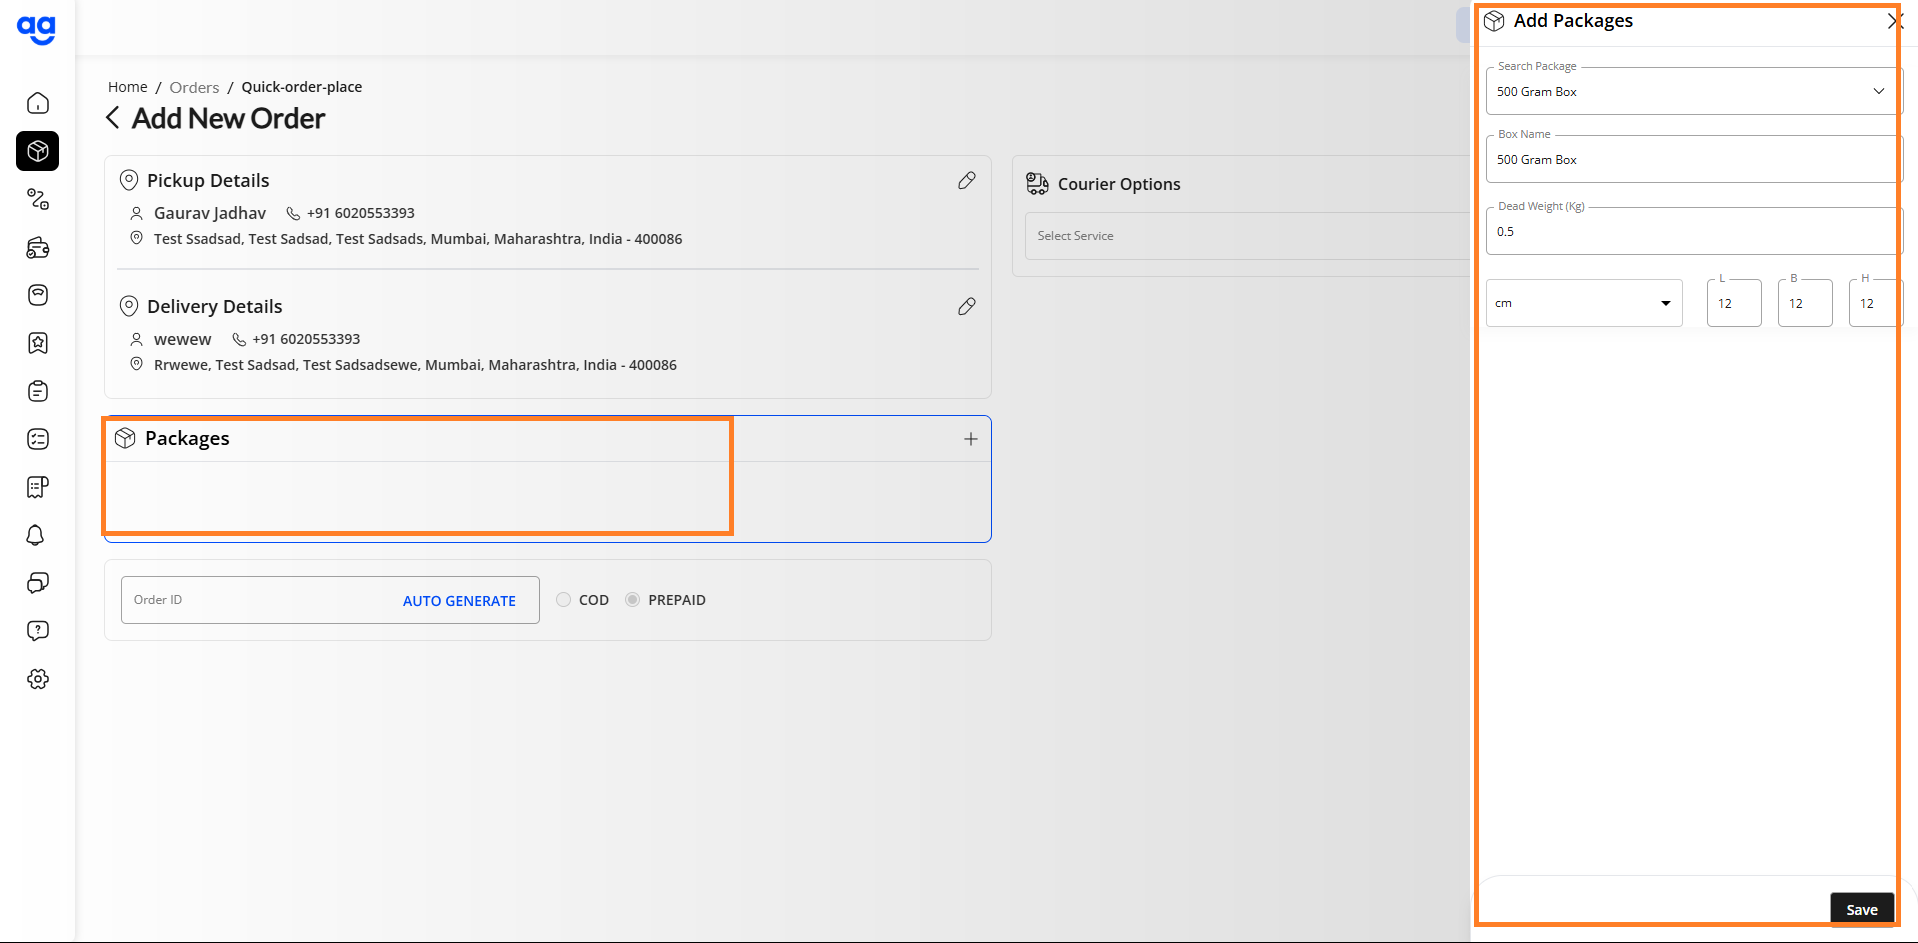
Step 5: Add Box Dimensions
-
Specify box dimensions (length, width, height, and weight).
-
Click on Save.
-
(SS: Example of box dimension input with the Save button highlighted)
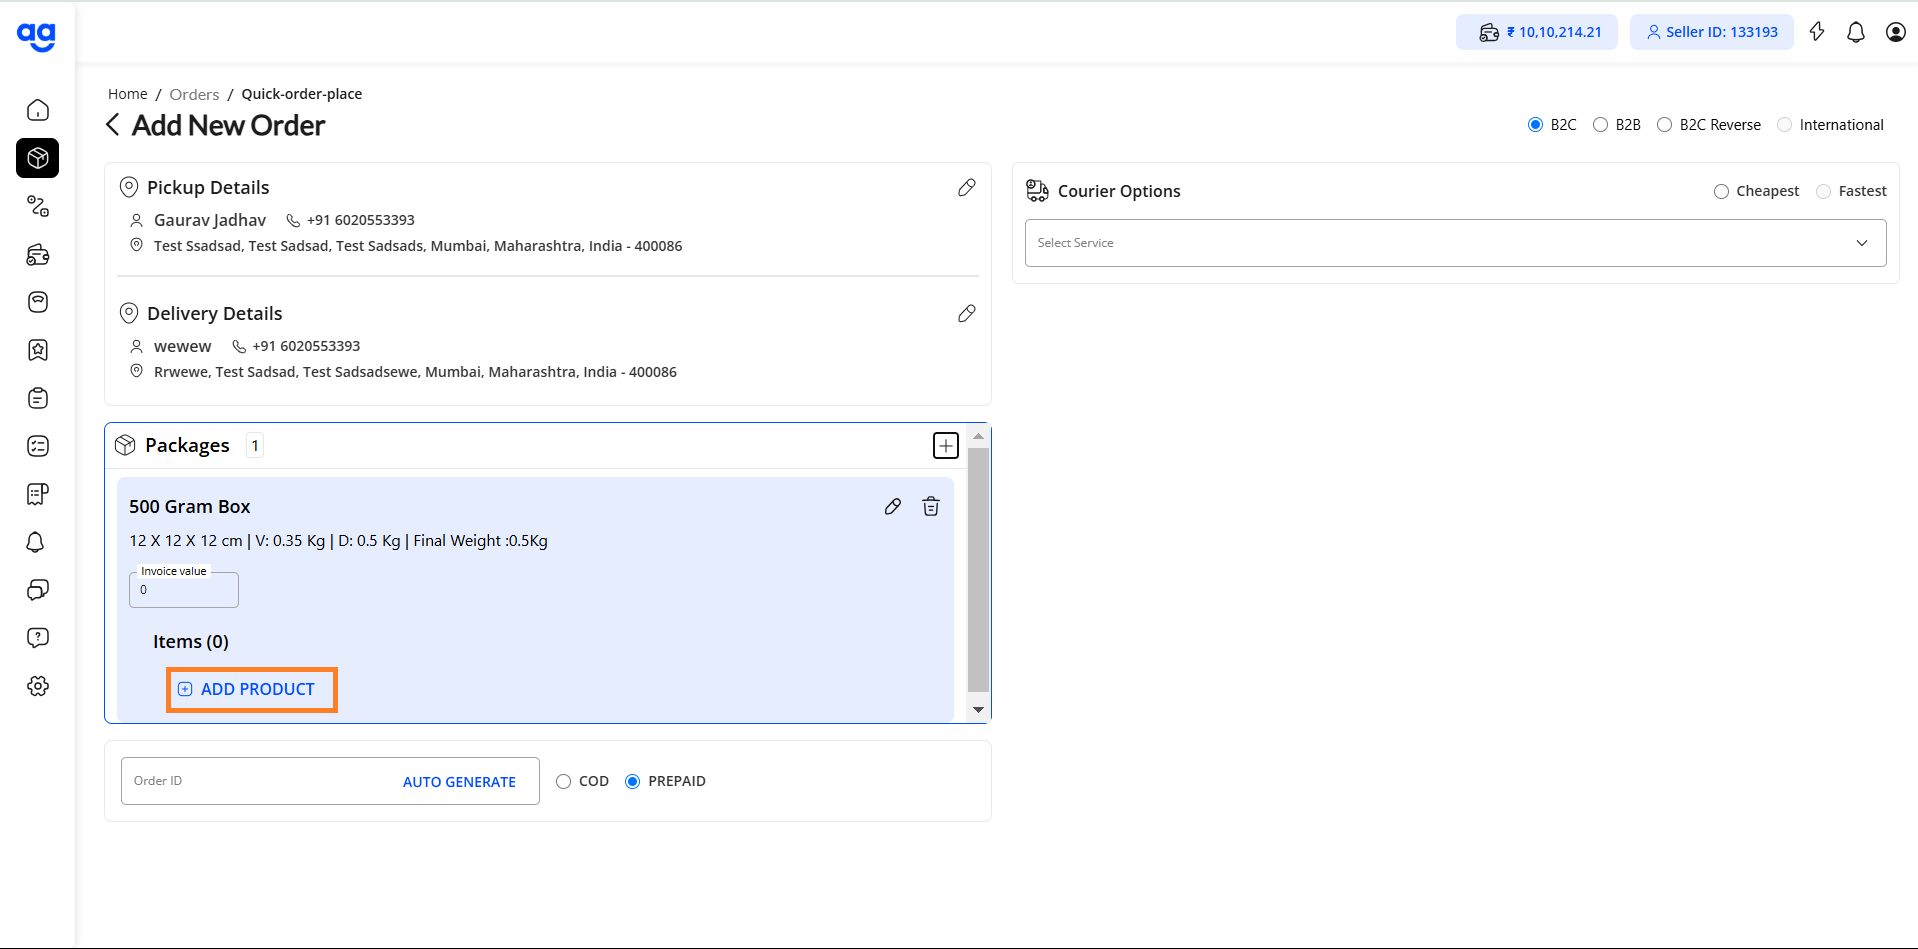
Step 6: Add Product
- Click on Add Product to access side bar to enter Product information.
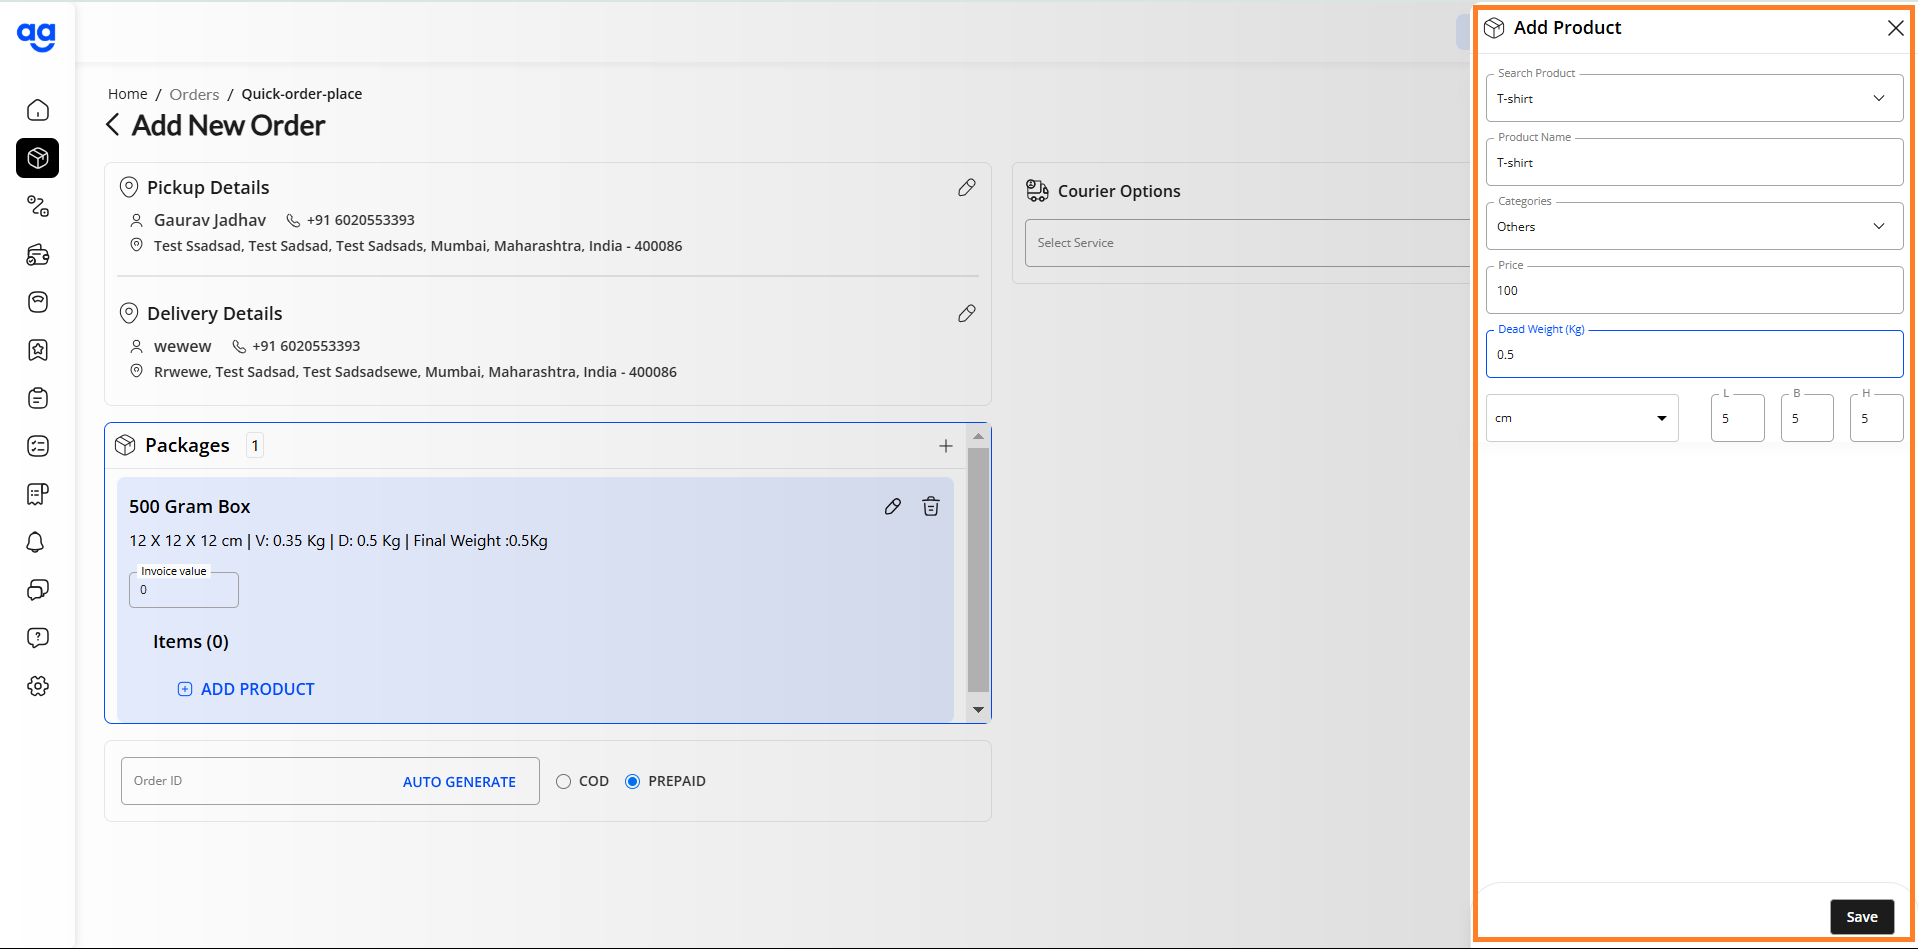
Step 7: Add Product Details
-
Enter details about the product (e.g., name, SKU, quantity, and value).
-
Click on Save.
-
(SS: Product details input section with Save button highlighted)
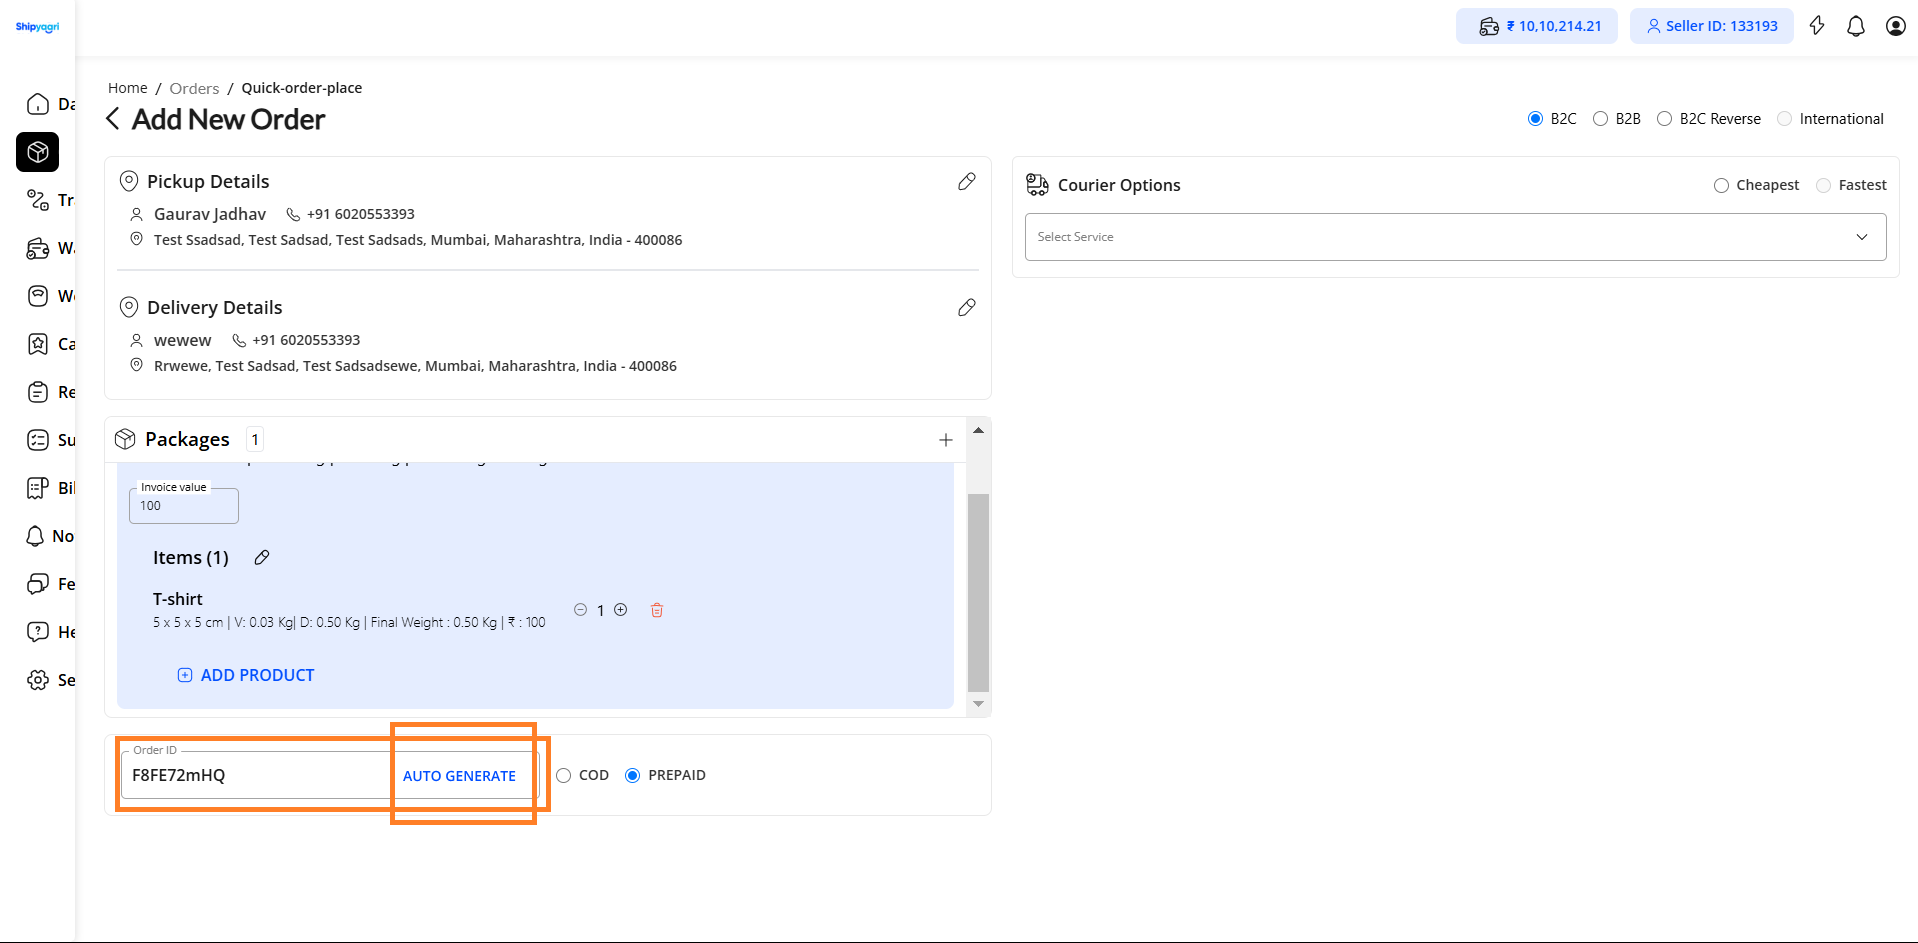
Step 8: Generate Order ID
-
Click Auto Generate in the Order ID field. This will automatically populate a unique Order ID.
-
(SS: Field with Auto Generate option clicked and Order ID populated)
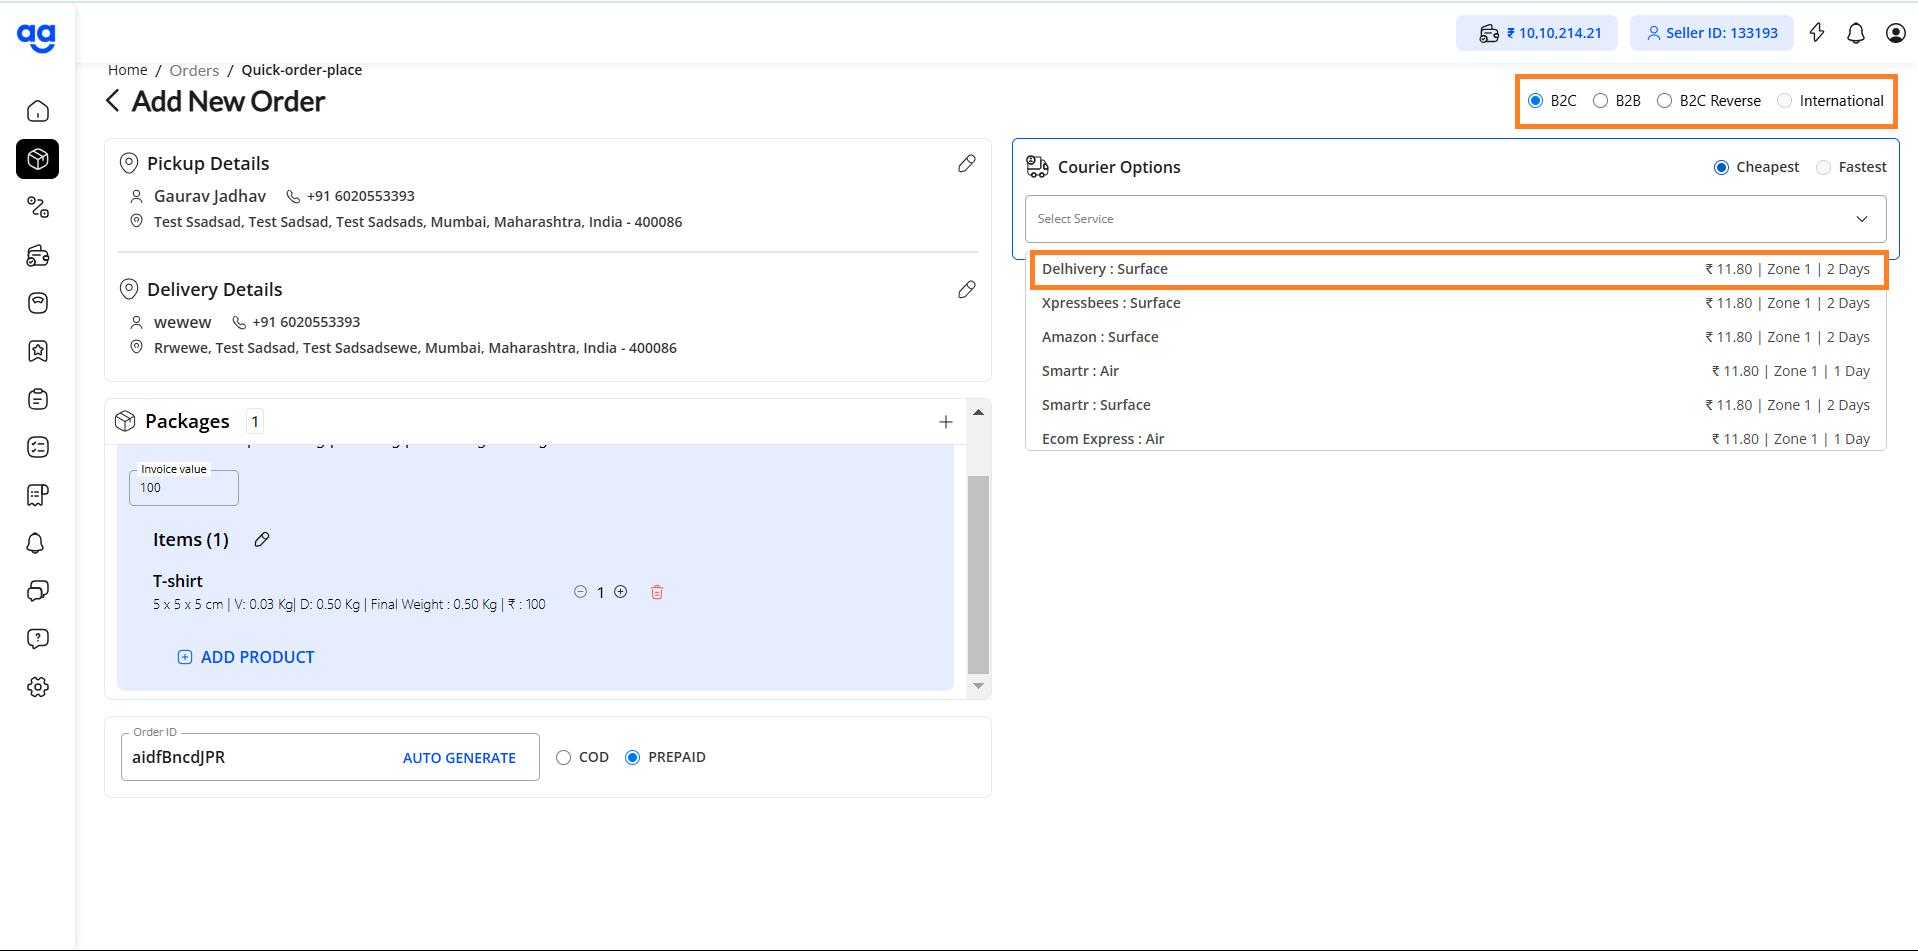
Step 9: Enter Business Mode and Select Courier Partner
-
Choose the Business Mode: B2B or B2C.
-
Select a courier partner from the sorted list (default sorting is by Cheapest First).
-
(SS: Dropdown or selection list for Business Mode and Courier Partner, with Cheapest First sorting highlighted)
-
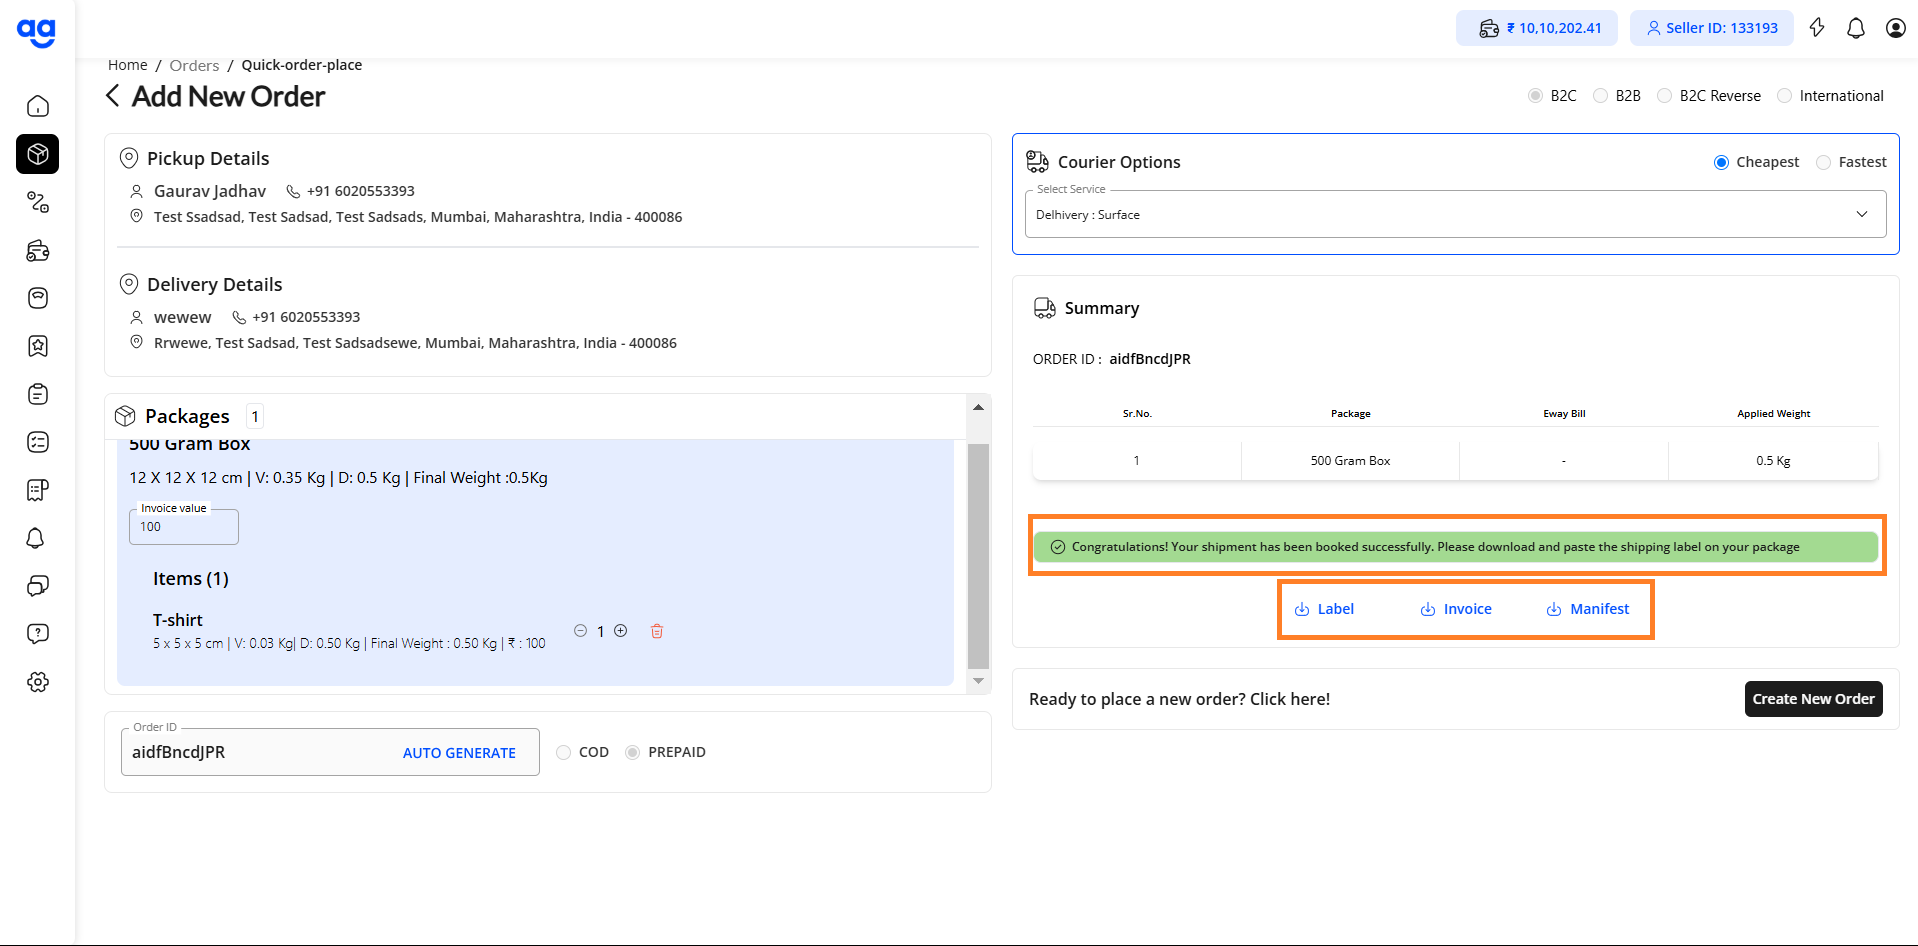
Click on Place Order.
-
A congratulatory message will confirm the successful placement of the order.
-
(SS: Congratulatory message displayed post-order placement)
Step 10: Download Documents (Manifest, Label, Invoice)
-
On the same page, you can download the Label, Manifest, or Invoice.
-
(SS: Buttons for downloading Label, Manifest, and Invoice)
Step 11: Download Documents (Manifest, Label, Invoice) from Orders
-
Navigate to Orders > View Orders.
-
Select the desired Order ID.
-
Click on the download option for Manifest, Label, or Invoice as needed.
